Why pick Crystal Maiden?
Pick her for reliable lane control, teamwide mana help, and strong defensive utility.
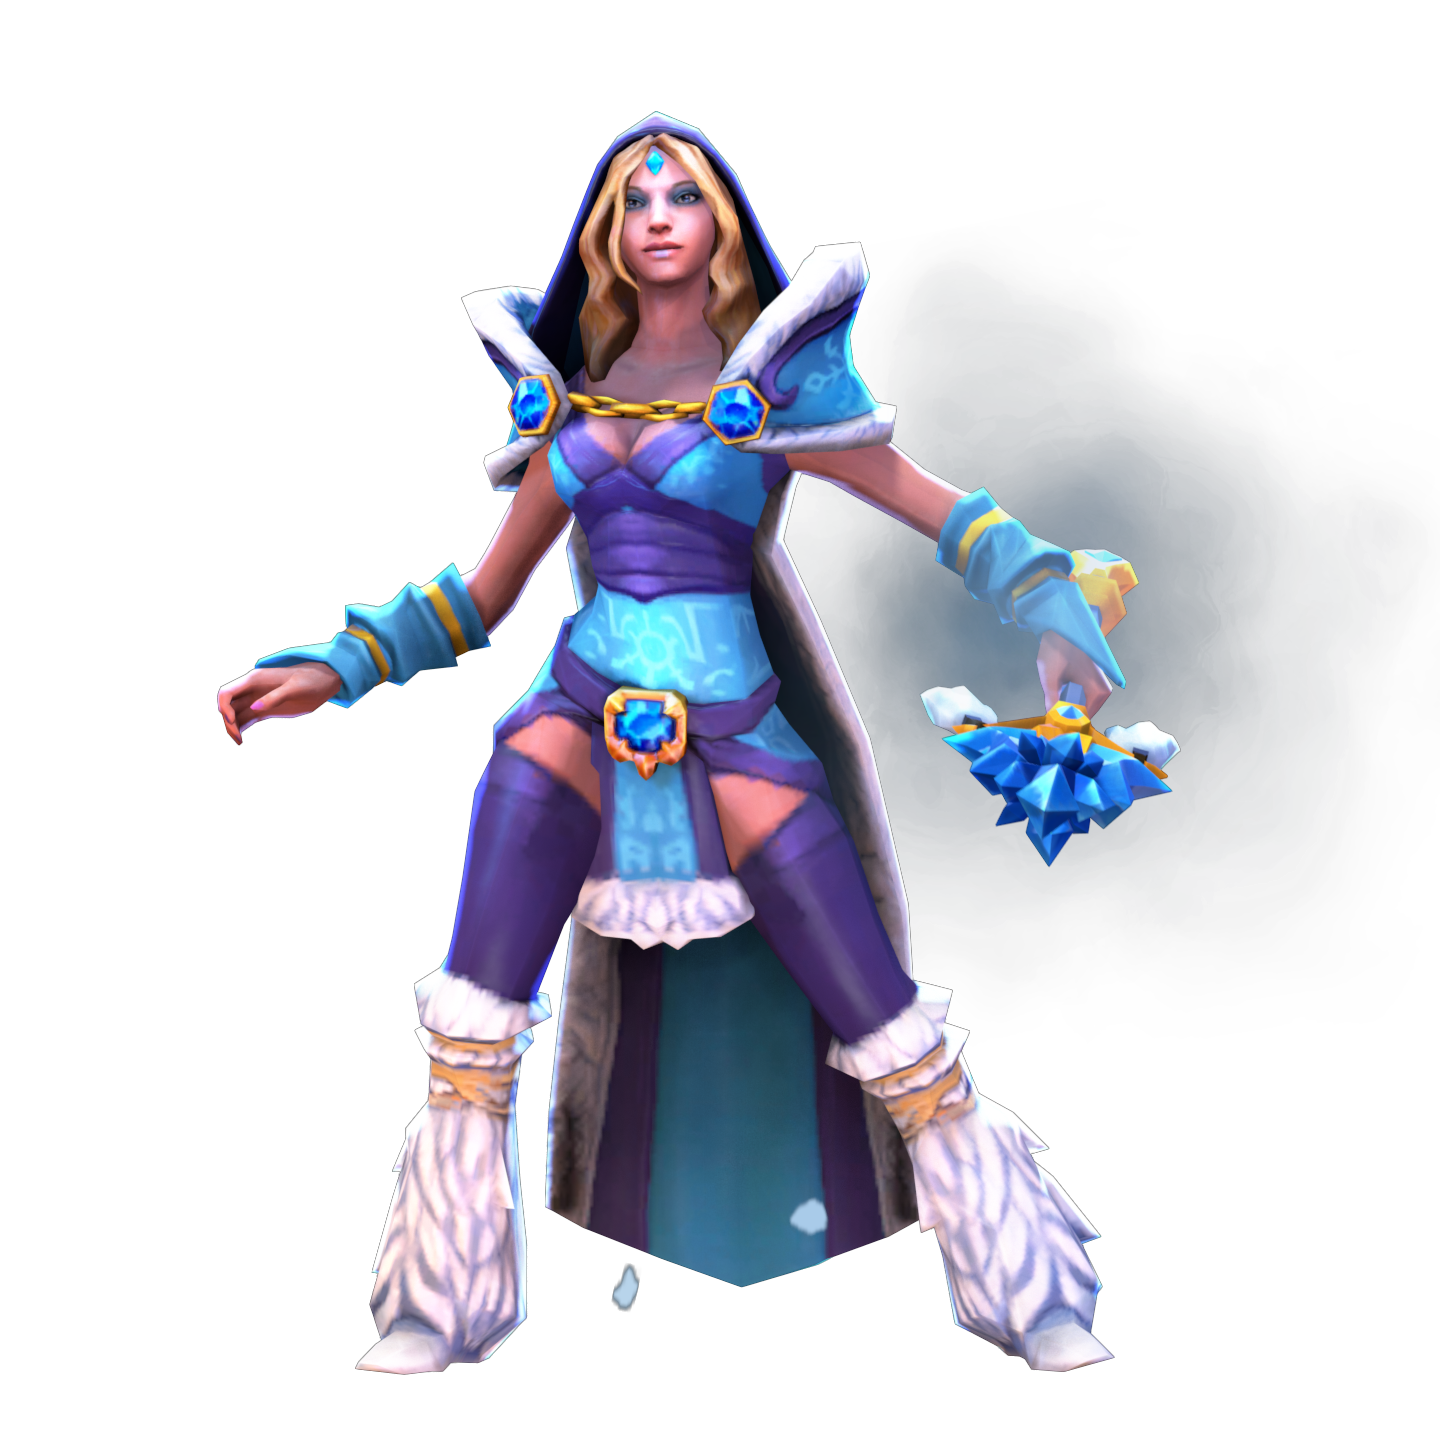
Cold spells. Warm intentions.
Crystal Maiden is a low-farm hard support who turns simple slows, roots, and mana sustain into safer lanes and sharper fights.
 IntelligenceRanged
Pick her for reliable lane control, teamwide mana help, and strong defensive utility.
Think twice when enemies can repeatedly jump or interrupt your back line.
Starting Freezing Field before identifying the enemy disable that can stop it.
Save teammates first. Tranquil Boots, Glimmer Cape and Force Staff make a practical utility route.
Bring regen, detection and inexpensive stats. Observer wards share a limited team stock.
Move between safe trades; keep detection available.
Finish a useful defensive tool before saving for luxury damage.
Add the next answer your team actually needs.
Expensive additions depend on spare gold and the enemy threats.
A possible long-game destination, not a required shopping list.
Glimmer CapeTemporary invisibility and a magic barrier can help you or an ally survive. Detection and disables still matter.Guide ↗
Prioritize repositioning when enemies keep reaching the back line. Blink is a later positioning option.
Bring regen, detection and inexpensive stats. Observer wards share a limited team stock.
Move between safe trades; keep detection available.
Finish a useful defensive tool before saving for luxury damage.
Add the next answer your team actually needs.
Expensive additions depend on spare gold and the enemy threats.
A possible long-game destination, not a required shopping list.
Glimmer CapeTemporary invisibility and a magic barrier can help you or an ally survive. Detection and disables still matter.Guide ↗
Consider Ghost Scepter against physical attacks. Its magic-damage vulnerability makes it a poor universal defense.
Bring regen, detection and inexpensive stats. Observer wards share a limited team stock.
Move between safe trades; keep detection available.
Finish a useful defensive tool before saving for luxury damage.
Add the next answer your team actually needs.
Expensive additions depend on spare gold and the enemy threats.
A possible long-game destination, not a required shopping list.
Glimmer CapeTemporary invisibility and a magic barrier can help you or an ally survive. Detection and disables still matter.Guide ↗
Protect an ally being focused by attacks. Upgrade Pavise into Solar Crest before adding more utility.
Bring regen, detection and inexpensive stats. Observer wards share a limited team stock.
Move between safe trades; keep detection available.
Finish a useful defensive tool before saving for luxury damage.
Add the next answer your team actually needs.
Expensive additions depend on spare gold and the enemy threats.
A possible long-game destination, not a required shopping list.
Glimmer CapeTemporary invisibility and a magic barrier can help you or an ally survive. Detection and disables still matter.Guide ↗
An expensive channel-focused route for unusually long, rich support games. Buy protection before luxury damage.
Bring regen, detection and inexpensive stats. Observer wards share a limited team stock.
Move between safe trades; keep detection available.
Finish a useful defensive tool before saving for luxury damage.
Add the next answer your team actually needs.
Expensive additions depend on spare gold and the enemy threats.
A possible long-game destination, not a required shopping list.
Glimmer CapeTemporary invisibility and a magic barrier can help you or an ally survive. Detection and disables still matter.Guide ↗
These are our editorial build paths. Labels describe their purpose, not measured popularity or win rate. Click an item for its use. Each stage is an inventory snapshot: keep earlier items, use consumables, upgrade components, and replace small items as space runs out. Boots, defenses, and late slots can change with the draft.
More match and build examples: Dota 2 Pro Tracker. Item names and images: Valve.
Our picks, based on how the spells work together.
Storm Hammer sets up your follow-up spells; mana regeneration helps him keep casting.
Your slow and root can help keep a target near Blade Fury in lane.
Holding an enemy still gives Ursa more opportunity to land consecutive attacks.
Let Centaur initiate and absorb attention before you step into spell range.
Black Hole can hold a group inside your damage area; position so an enemy cannot interrupt both channels.
Blink reaches the back line, while Counterspell can reflect a targeted Frostbite.
Clockwerk can isolate you with Cogs; Battery Assault makes a nearby channel difficult.

Telekinesis interrupts your setup and Spell Steal can turn a valuable spell against your team.
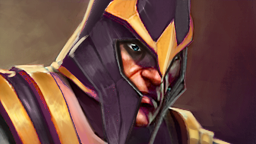
Silences deny spell use. Watch his position and Global Silence before committing.
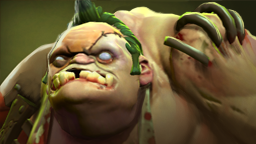
Hook punishes exposed positioning, and Dismember can lock you down. Stay behind a useful screen of units.
These are useful ability interactions, not a statistical ranking or guaranteed matchups. Positioning, items, and cooldowns change the result. Hero links open a full guide when available, otherwise the directory.
Ability references from Valve: Sven · Juggernaut · Ursa · Centaur Warrunner · Enigma · Anti-Mage · Clockwerk · Rubick · Silencer · Pudge. Checked 2026-09-21.
 Crystal NovaPoint targetDamage and slow enemies in an area. The area also grants vision.
 FrostbiteUnit targetRoot an enemy, stop its attacks and deal damage over time. This is not a stun.
 Arcane AuraPassiveProvide mana regeneration globally, with a stronger benefit nearby.
 Freezing FieldUltimateChannel icy explosions around yourself. Choose a position where enemies cannot easily interrupt you.
 Crystal ClonePoint targetRequires Aghanim’s Shard. Slide away and leave a clone that applies Frostbite nearby when it shatters.
 Strength17+2.2 / lvl
 Agility16+1.8 / lvlIntelligence20+3.3 / lvl
Spending mana on abilities creates a temporary physical barrier. It does not protect against every damage type.
 Crystal MaidenImmortal
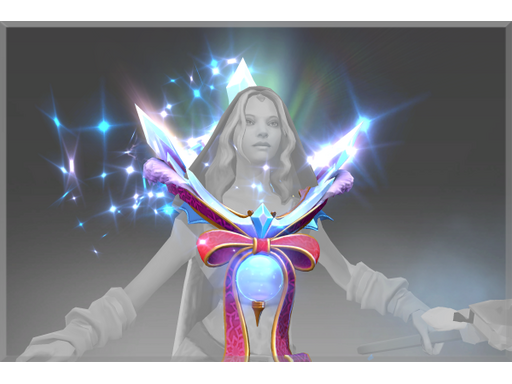 Crystal MaidenImmortal
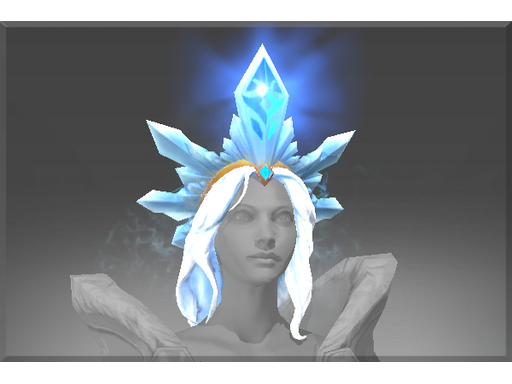 Crystal MaidenImmortal
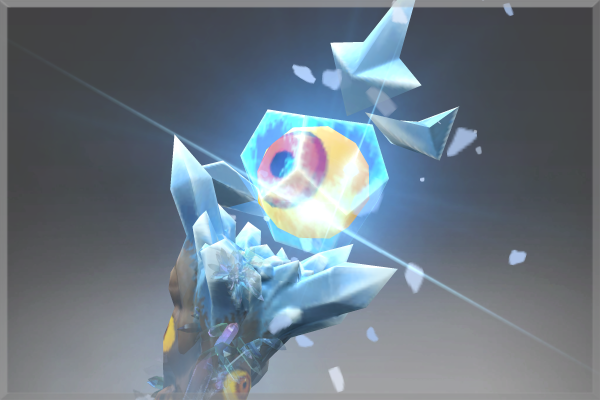 Crystal MaidenImmortal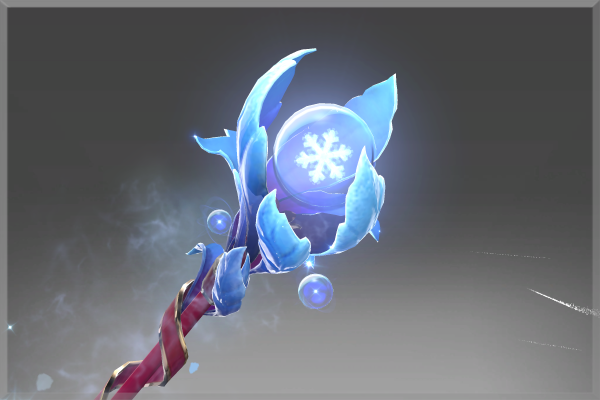
Current prices and availability on Skinport.
Affiliate links: we may earn a commission if you buy through our links.
Crystal Maiden brings lane control and mana support without needing a carry’s farm. Choose your position and defensive items around the enemies who can reach you.
Crystal Maiden is a ranged Intelligence hero. Our recommended role is hard support: help your carry, provide vision and use slows and roots to set up teammates.
Crystal Maiden is a hard support who needs little farm to matter. Crystal Nova slows enemies so a carry can trade or retreat, while Frostbite can hold a target in place. Arcane Aura supports spell use across the team, making a mana-hungry lane partner more comfortable.
Trade when your carry can join the target, not just because Nova is available. A slowed enemy is useful when your lane can follow up or claim space. Aim Crystal Nova carefully around the wave; hitting too many creeps can push it forward and expose your carry.
Approach fights behind an ally and use Nova or Frostbite to disrupt the first enemy who commits. Before Freezing Field, identify the stun, silence, or other interruption that can reach you. Waiting for it or casting normal spells first can create a much better channel.

Tranquil Boots suit a support who needs movement and sustain without demanding farm. Choose Glimmer Cape against magic damage or when invisibility can save a target; choose Force Staff when repositioning beats hiding. Buy for the visible threat. Expensive late options are situational, not required goals.
Crystal Nova grants vision in its targeted area. Cast it onto a dangerous ramp, tree line, or approach before walking in, then decide whether your team can enter safely. That vision does not reveal invisible enemies and does not provide True Sight, so bring detection when needed.
Frostbite is a root: it stops movement and attacks, which can secure a trade or keep a pursuer away from an ally. It is not a stun or silence. Do not assume the affected hero cannot cast every spell; react to their remaining options.

Before channeling Freezing Field, consider which enemy stun or silence is still available and whether they can reach you. Glimmer Cape invisibility does not make a channel immune to interruption. Black King Bar can help against some threats, but it is not protection from everything.
| Detail | What it means in your game |
|---|---|
| Arcane Aura | Mana regeneration reaches allies globally, with a stronger benefit nearby. This is her regular passive ability, not her innate. |
| Glacial Guard | Her innate converts a portion of mana spent on abilities into a temporary physical barrier. |
| Crystal Clone | Aghanim’s Shard grants this extra ability. Its shattered clone applies Frostbite around the clone’s position. |
| Freezing Field and Scepter | Aghanim’s Scepter allows movement, casting and attacking during the ultimate. Enemies can still interrupt it. |
Hard support. Crystal Maiden works best when she helps a carry trade, carries vision, and buys saves before luxury damage. Her spells create short windows for allies to act, while Arcane Aura gives the whole team more room to use abilities.
Buy Glimmer Cape first when magic damage or a targeted save is the immediate problem; buy Force Staff first when terrain, gap-closing, or dangerous positioning must be solved. When both look useful, ask whether hiding or moving the target actually breaks the enemy’s next play.
Yes, Crystal Maiden suits beginners who want clear support jobs. Her basic spells have understandable purposes: slow an area, root a target, and help allies with mana. The important lesson is restraint: save Frostbite for a useful moment rather than casting every spell on cooldown.
Freezing Field gets interrupted because it is a channel and enemies can stop it with the right disable. Start it after key control has been used, from a protected angle, or when allies can block access. Movement upgrades do not remove the interruption risk.
 Witch DoctorIntelligence
 LinaIntelligence
 Dark SeerIntelligence
 Monkey KingAgility
 ViperAgility
 SpectreAgility
6 random heroes · Opens the hero directory.