Why pick Witch Doctor?
Pick Witch Doctor when your team can hold enemies inside a small area and needs both lane sustain and a threatening follow-up channel.
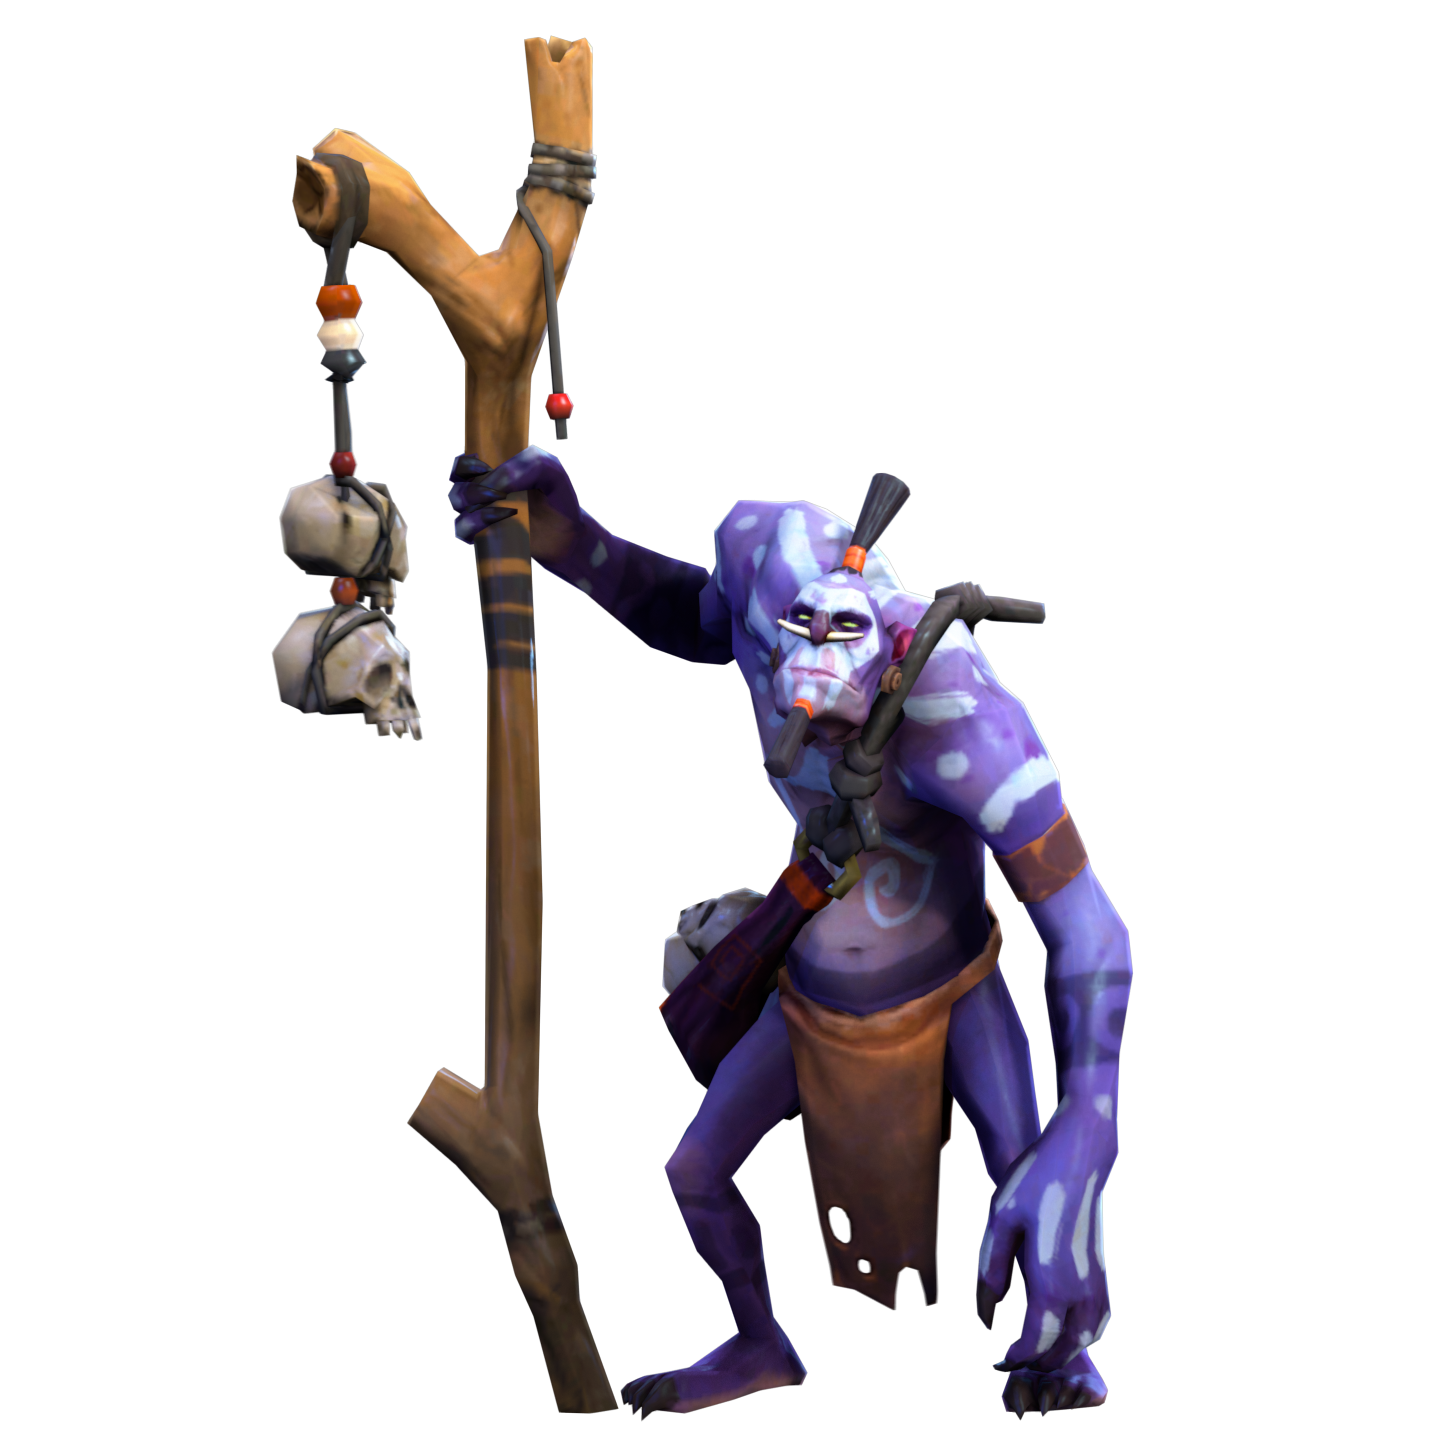
A masked healer and hex-caster whose battlefield medicine is nearly as unsettling as his cursework.
Witch Doctor combines bouncing stuns, healing and Maledict with a powerful channeled Death Ward.
 IntelligenceRanged
Pick Witch Doctor when your team can hold enemies inside a small area and needs both lane sustain and a threatening follow-up channel.
Avoid treating him as a frontliner against lineups that can repeatedly interrupt channels or quickly reach the back line.
The common mistake is dropping Death Ward before enemy stuns and gap closers are committed, leaving your strongest spell immediately interrupted.
Default hard-support path for mixed fights where saving an ally and keeping a safe Death Ward angle both matter.
Trade safely and retain mana.
Gain movement and emergency charges.
Protect a key ally from danger.
Reposition away from initiators.
Add reliable defensive utility.
Survive the first jump and keep casting.
Glimmer CapeProvides magical protection and concealment for a threatened ally or Witch Doctor himself.Guide ↗
Choose this when allied spell users need mana support and grouped fights reward a larger healing commitment.
Keep consumables ready for trading.
Bring mana to an early fight.
Supply a team recovery button.
Increase effective cast distance.
Cover allied sustain between clashes.
Turn prolonged fights into recovery windows.
Glimmer CapeProvides magical protection and concealment for a threatened ally or Witch Doctor himself.Guide ↗
Use against lineups that leap onto supports or rely on physical attacks to finish a focused ally.
Start with cheap health and vision.
Prepare an escape from attackers.
Punish attackers with an active defense.
Create space after the first jump.
Deny a clean physical finish.
Add a last-resort survival layer.
Glimmer CapeProvides magical protection and concealment for a threatened ally or Witch Doctor himself.Guide ↗
A greedier damage path for a team that can protect long channels and repeatedly force enemies to fight close together.
Claim vision and mana for pressure.
Carry mana into pickoffs.
Set up a central crowd-control point.
Improve channel damage across clusters.
Keep targets in dangerous ground.
Extend control when fights become messy.
Glimmer CapeProvides magical protection and concealment for a threatened ally or Witch Doctor himself.Guide ↗
Try this only when your team already supplies saves and needs a hidden initiator for Cask, Maledict, and a fast channel angle.
Buy vision and lane resources.
Stay mobile while scouting.
Find an unexpected spell angle.
Arrive from fog before control lands.
Disable the crucial interrupter.
Convert a favorable catch into a channel.
Glimmer CapeProvides magical protection and concealment for a threatened ally or Witch Doctor himself.Guide ↗
These are our editorial build paths. Labels describe their purpose, not measured popularity or win rate. Click an item for its use. Each stage is an inventory snapshot: keep earlier items, use consumables, upgrade components, and replace small items as space runs out. Boots, defenses, and late slots can change with the draft.
More match and build examples: Dota 2 Pro Tracker. Item names and images: Valve.
Our picks, based on how the spells work together.
Berserker's Call gathers enemies, creating close Cask bounces and a strong Maledict or Death Ward area.

Storm Hammer gives Witch Doctor a direct opening to curse a target and channel safely behind Sven.
Slithereen Crush holds nearby enemies together while Corrosive Haze helps physical-focused allies finish ward targets.

Gust pushes enemies away from Drow, while Witch Doctor can heal her and punish enemies held at range.
Meat Hook can isolate a victim for Maledict, and Dismember supplies a stable channeling window for Death Ward.
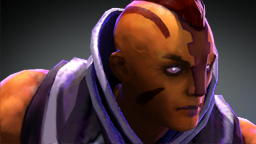
Blink brings Anti-Mage into the backline, and Mana Void can interrupt Death Ward when its target conditions are met.

Earth Spike and Hex offer multiple ways to stop a Death Ward channel before it deals much damage.
Meat Hook can pull Witch Doctor from a safe channel position, and Dismember disables him through the fight.
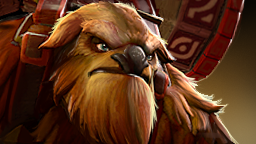
Fissure can block movement and stun Witch Doctor, while follow-up control threatens tightly grouped support positioning.

Phantom Strike quickly reaches the back line, forcing Witch Doctor to reserve defensive positioning or items.
These are useful ability interactions, not a statistical ranking or guaranteed matchups. Positioning, items, and cooldowns change the result. Hero links open a full guide when available, otherwise the directory.
Ability references from Valve: Axe · Sven · Slardar · Drow Ranger · Pudge · Anti-Mage · Lion · Pudge · Earthshaker · Phantom Assassin. Checked 2026-09-21.
 Paralyzing CaskUnit targetLaunches a cask of paralyzing powder that ricochets between enemy units, stunning and damaging those it hits.
 Voodoo RestorationNo targetWitch Doctor focuses his magic to heal nearby allied units, costing Witch Doctor mana every second Voodoo Restoration is active.
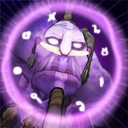 MaledictPoint targetCurses all enemy Heroes and player-controlled targets in a small area, causing them to take a set amount of damage each second, as well as bursts of damage every 4 seconds based on how much health they have lost since the curse began.
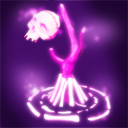 Death WardUltimateCHANNELED - Summons a deadly ward to attack enemy heroes within its attack range.
 Voodoo SwitcherooNo targetRequires Aghanim’s Shard. Turns Witch Doctor into a Death Ward briefly with reduced attack speed.
 Strength20+2.1 / lvl
 Agility13+1.4 / lvlIntelligence22+3.1 / lvl
Gris-Gris stores gold over time and gold lost on death. It occupies an inventory slot until consumed; consume it before filling all six build slots.
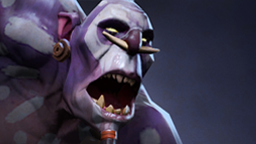
Witch Doctor combines bouncing stuns, healing and Maledict with a powerful channeled Death Ward.
Witch Doctor is a ranged Intelligence hero. Our recommended role is hard support.
Witch Doctor supports by making one bad enemy position expensive. Paralyzing Cask punishes nearby units, Maledict rewards focused damage, and Voodoo Restoration stabilizes allies. He should play behind his core, wait for a control opening, then choose between extending the catch or preserving a vulnerable teammate.
In lane, stand where Paralyzing Cask can bounce through creeps and return to a hero. Cast Maledict when your partner can immediately trade damage, rather than hoping for a distant solo kill. Keep Voodoo Restoration brief after exchanges; leaving it active without purpose drains mana and weakens later responses.
Start fights from fog or behind a durable ally, because Death Ward ends when Witch Doctor is interrupted. Use Cask and Maledict on targets your team can hold, then channel from terrain or behind allies. Control the ward onto a priority hero, but cancel the plan and save yourself when divers arrive.

Buy movement, mana, and survival before chasing damage. Glimmer Cape protects a focused ally or creates a safer ward position, while Force Staff breaks dangerous spacing. Choose detection when enemies hide, Ghost Scepter against physical dives, and Lotus Orb when targeted spells repeatedly decide who gets eliminated.
Throw Paralyzing Cask when an enemy hero stands near a creep or another enemy. A later bounce can strike the original hero again, extending disruption. Do not throw it into an isolated target when a better cluster is about to form.
Turn on Voodoo Restoration after an exchange, when nearby allies can receive several healing intervals without exposing you. Turn it off before walking into danger or rotating. The heal can affect spell immune allies, so stay close enough to help them when needed.
Apply Maledict before allied burst lands, because its later bursts depend on health lost after the curse begins. Call attention to the target and keep pressure steady. If the victim heals above their starting health, the burst damage becomes nothing.
| Detail | What it means in your game |
|---|---|
| Paralyzing Cask | Launches a cask of paralyzing powder that ricochets between enemy units, stunning and damaging those it hits. |
| Voodoo Restoration | Witch Doctor focuses his magic to heal nearby allied units, costing Witch Doctor mana every second Voodoo Restoration is active. |
| Maledict | Curses all enemy Heroes and player-controlled targets in a small area, causing them to take a set amount of damage each second, as well as bursts of damage every 4 seconds based on how much health they have lost since the curse began. |
Witch Doctor is usually a hard support because he brings lane trading, healing, disable, vision utility, and a threatening teamfight channel without needing farm. Stay near the core during early pressure, then rotate with wards when Cask and Maledict can convert allied control into a kill.
Prioritize boots, a Magic Wand, wards, and mana resources, then buy the defensive active the enemy lineup demands. Glimmer Cape is a broadly useful first core because it protects targets and helps positioning. Force Staff answers many initiation patterns, while detection remains a support responsibility.
For beginners, focus on patient positioning instead of forcing every spell immediately. Let an ally begin the exchange, bounce Cask through a cluster, cast Maledict before damage arrives, and use a short heal afterward. Save Death Ward until obvious interruptions have been used or enemies are held.
Death Ward is a channeled ward that attacks enemy heroes in range and can be directed onto a chosen target. It is invulnerable, but the channel ends when Witch Doctor is interrupted or its duration expires. Aghanim's Scepter makes its attacks bounce between nearby enemies.
 Nyx AssassinUniversalAxeStrength
 TinkerIntelligence
 Faceless VoidAgility
 WindrangerUniversal
 Phantom LancerAgility
6 random heroes · Opens the hero directory.