Why pick Pudge?
Pick Pudge when your team can quickly follow a Hook and needs a durable front-line disabler.
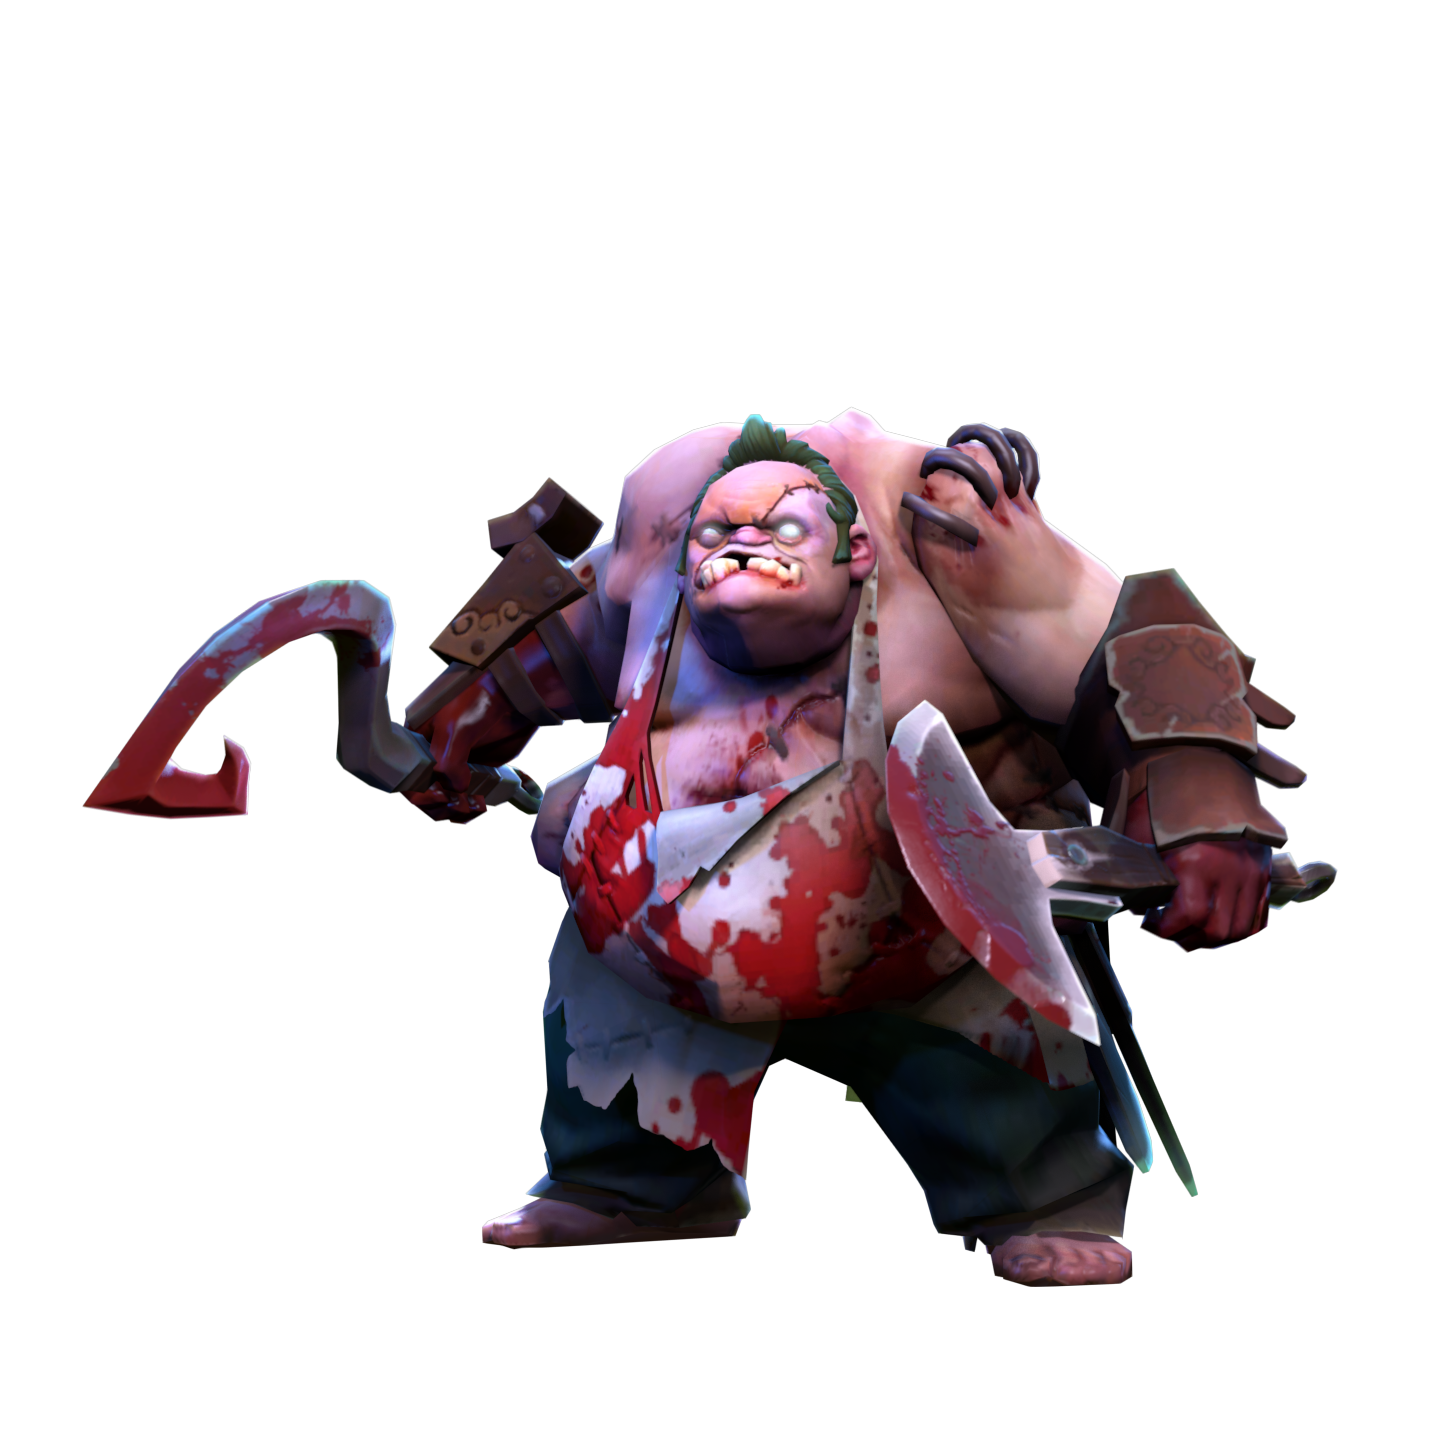
Vision and a clear pull angle matter more than another hopeful Hook from the same hiding place.
Pudge support turns small positioning errors into picks, saves, and brutal close-range control.
 StrengthMelee
Pick Pudge when your team can quickly follow a Hook and needs a durable front-line disabler.
Avoid Pudge when your lane partner cannot pressure hooked targets or your team lacks follow-up damage.
Do not chase with Rot through unknown ground; a successful Hook can become an easy counterattack.
Use this route when your team needs reliable saves, pick potential, and utility during clustered fights.
Trade safely while protecting vision.
Move between lanes without abandoning detection.
Rescue allies or reposition hooked enemies.
Punish healing and sustain on key targets.
Reflect dangerous single-target control.
Survive late initiations while keeping allies mobile.
Force StaffForce Staff saves allies, repositions Pudge, and can push a target into a better Hook line.Guide ↗
Use this route against burst and targeted disables that threaten your channel or vulnerable core.
Secure lane resources and protect approach paths.
Carry detection before attempting river rotations.
Create distance after a risky Hook.
Hide or save an ally during focused damage.
Return harmful targeted spells to their caster.
Deny burst combinations and preserve rescue tools.
Force StaffForce Staff saves allies, repositions Pudge, and can push a target into a better Hook line.Guide ↗
Use this route when allies want sustained grouped fights and the enemy relies heavily on magical damage.
Maintain regeneration, wards, and lane safety.
Restore mana for active spells and rotations.
Heal nearby allies after the first exchange.
Bring a strong dispel and heal to grouped fights.
Shield the team from repeated magical damage.
Absorb physical focus while standing near allies.
Force StaffForce Staff saves allies, repositions Pudge, and can push a target into a better Hook line.Guide ↗
Use this route when allied control creates clear Blink windows and your team needs immediate initiation.
Keep lane vision while preserving health and mana.
Rotate unseen toward exposed side lanes.
Start fights from unexpected terrain.
Convert pickoffs into healing reduction.
Find hidden enemies before committing your channel.
Maintain a late escape after aggressive jumps.
Force StaffForce Staff saves allies, repositions Pudge, and can push a target into a better Hook line.Guide ↗
Use this route only when close fights are safe enough to exploit the purchased Scepter Rot upgrade.
Establish vision and regeneration before trading.
Keep mana available for Hooks and Rot.
Cast spells from a safer distance.
Buy the Rot upgrade for prolonged brawls.
Reduce cooldown pressure in repeated skirmishes.
Add survivability without losing spell access.
Force StaffForce Staff saves allies, repositions Pudge, and can push a target into a better Hook line.Guide ↗
These are our editorial build paths. Labels describe their purpose, not measured popularity or win rate. Click an item for its use. Each stage is an inventory snapshot: keep earlier items, use consumables, upgrade components, and replace small items as space runs out. Boots, defenses, and late slots can change with the draft.
More match and build examples: Dota 2 Pro Tracker. Item names and images: Valve.
Our picks, based on how the spells work together.
Shallow Grave can keep Pudge alive through a risky channel, while Shadow Wave rewards close-range fights.
Ice Path and Macropyre punish a target Pudge drags into a narrow, controlled area.
Stampede helps Pudge reach Hook angles or lets allies immediately close on a pulled target.
Fissure can trap a hooked enemy near Pudge, then Echo Slam punishes clustered defenders.
Zeus supplies distant damage and vision, helping Pudge identify vulnerable targets before an approach.
Counterspell can block and reflect targeted control, while Blink lets Anti-Mage escape poor Hook setups.
Guardian Sprint closes distance quickly, and Corrosive Haze exposes Pudge even when he tries to hide.
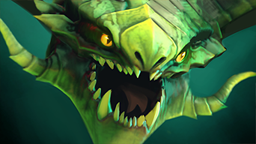
Poison slows make Pudge easier to kite, while Viper Strike disables passives and weakens durability.
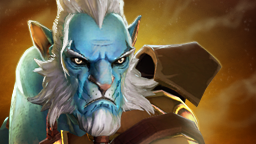
Illusions obscure the real target, and Doppelganger can evade a Hook or Dismember attempt.
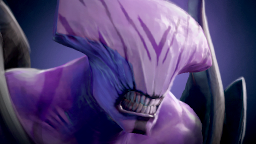
Chronosphere stops Pudge from channeling or repositioning; allies outside it may still be able to help.
These are useful ability interactions, not a statistical ranking or guaranteed matchups. Positioning, items, and cooldowns change the result. Hero links open a full guide when available, otherwise the directory.
Ability references from Valve: Dazzle · Jakiro · Centaur Warrunner · Earthshaker · Zeus · Anti-Mage · Slardar · Viper · Phantom Lancer · Faceless Void. Checked 2026-09-21.
 Meat HookPoint targetThrow a hook that pulls a struck unit to Pudge. It can rescue allies without damaging them and instantly kills non-ancient creeps.
 RotNo targetToggle a damaging cloud that slows nearby enemies and also harms Pudge. Its self-damage cannot kill him, but he cannot turn it off while silenced.
 Meat ShieldNo targetActivate a temporary layer of protection that blocks part of each incoming damage instance, regardless of its damage type.
 DismemberUltimateChannel on an enemy to disable, pull and damage it while healing Pudge. Damage scales with Strength; outside control can interrupt the channel.Strength25+3 / lvl
 Agility13+1.4 / lvl
 Intelligence16+1.8 / lvl
Gain permanent Strength stacks from enemy hero kills and nearby enemy hero deaths.
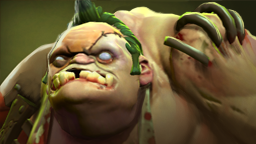
Pudge support turns small positioning errors into picks, saves, and brutal close-range control.
Pudge is a melee Strength hero. Our recommended role is support.
Pudge support creates numerical advantages by dragging one enemy into allied damage or pulling a threatened ally away from danger. He thrives around vision and narrow routes. Choose him when teammates can immediately punish a catch, then protect his close-range commitment.
Start with regeneration, vision, and a cheap slow rather than rushing boots. Stand beside trees or behind your core, where enemies must respect unseen Hook angles. Use Rot only when the trade is favorable, because its self-damage can turn an ambitious chase into a lost lane.
Before a fight, identify the enemy save spell and wait for a target to separate from protection. Hook can interrupt the primary enemy channel, then Dismember holds that target for allies. Save Force Staff for an escape if your team cannot immediately finish the pick.

Force Staff is the practical first utility purchase because it creates saves, better Hook lines, and safer exits. Choose Spirit Vessel against restoration, Glimmer Cape against magical focus, or Lotus Orb against targeted disables. Buy Aghanim's Scepter only on the experimental close-fight route.
Throw Meat Hook through trees and cliffs when enemies assume that terrain protects them. Keep an allied route behind you, because the pulled target arrives beside Pudge and may bring nearby defenders into range.
Activate Rot once a target is trapped by allied control or Dismember, then turn it off before needless self-damage forces a retreat. Be especially careful around silence, since an activated Rot cannot be deactivated while silenced. Rot itself cannot kill Pudge, but low health leaves him vulnerable to enemy damage.
Use Dismember after an enemy has spent interruption tools or after allies block their rescue path. The channel disables and pulls the victim while healing Pudge, but it remains vulnerable to enemy control and displacement.
| Detail | What it means in your game |
|---|---|
| Meat Hook | Throw a hook that pulls a struck unit to Pudge. It can rescue allies without damaging them and instantly kills non-ancient creeps. |
| Rot | Toggle a damaging cloud that slows nearby enemies and also harms Pudge. Its self-damage cannot kill him, but he cannot turn it off while silenced. |
| Meat Shield | Activate a temporary layer of protection that blocks part of each incoming damage instance, regardless of its damage type. |
Pudge works as a roaming support who supplies vision, displacement, saves, and a durable body near the front. He needs allies who can quickly damage a hooked target, because he does not reliably finish every catch alone.
Force Staff is the usual utility priority because it solves positioning for both saves and catches. Add Spirit Vessel against restoration, Glimmer Cape against magical focus, and Lotus Orb when targeted disables threaten Dismember or an important ally.
Practice Hooks from fog near trees, then move after each attempt instead of waiting in the same spot. Keep regeneration available for Rot trades, carry detection, and treat ally Hooks as saves when a teammate is being chased.
Dismember channels on an enemy, disables them, deals damage over time, pulls them closer, and heals Pudge based on the total damage. Use it after securing position, but expect stuns, silences, or displacement to interrupt the channel.
 SniperAgility
 TinyStrength
 Drow RangerAgility
 EnchantressIntelligence
 WarlockIntelligence
 BloodseekerAgility
6 random heroes · Opens the hero directory.