Why pick Dazzle?
Pick Dazzle when your team has durable cores that benefit from repeated healing and armor changes.
Stay in saving range without sharing the same disable as the ally you need to protect.
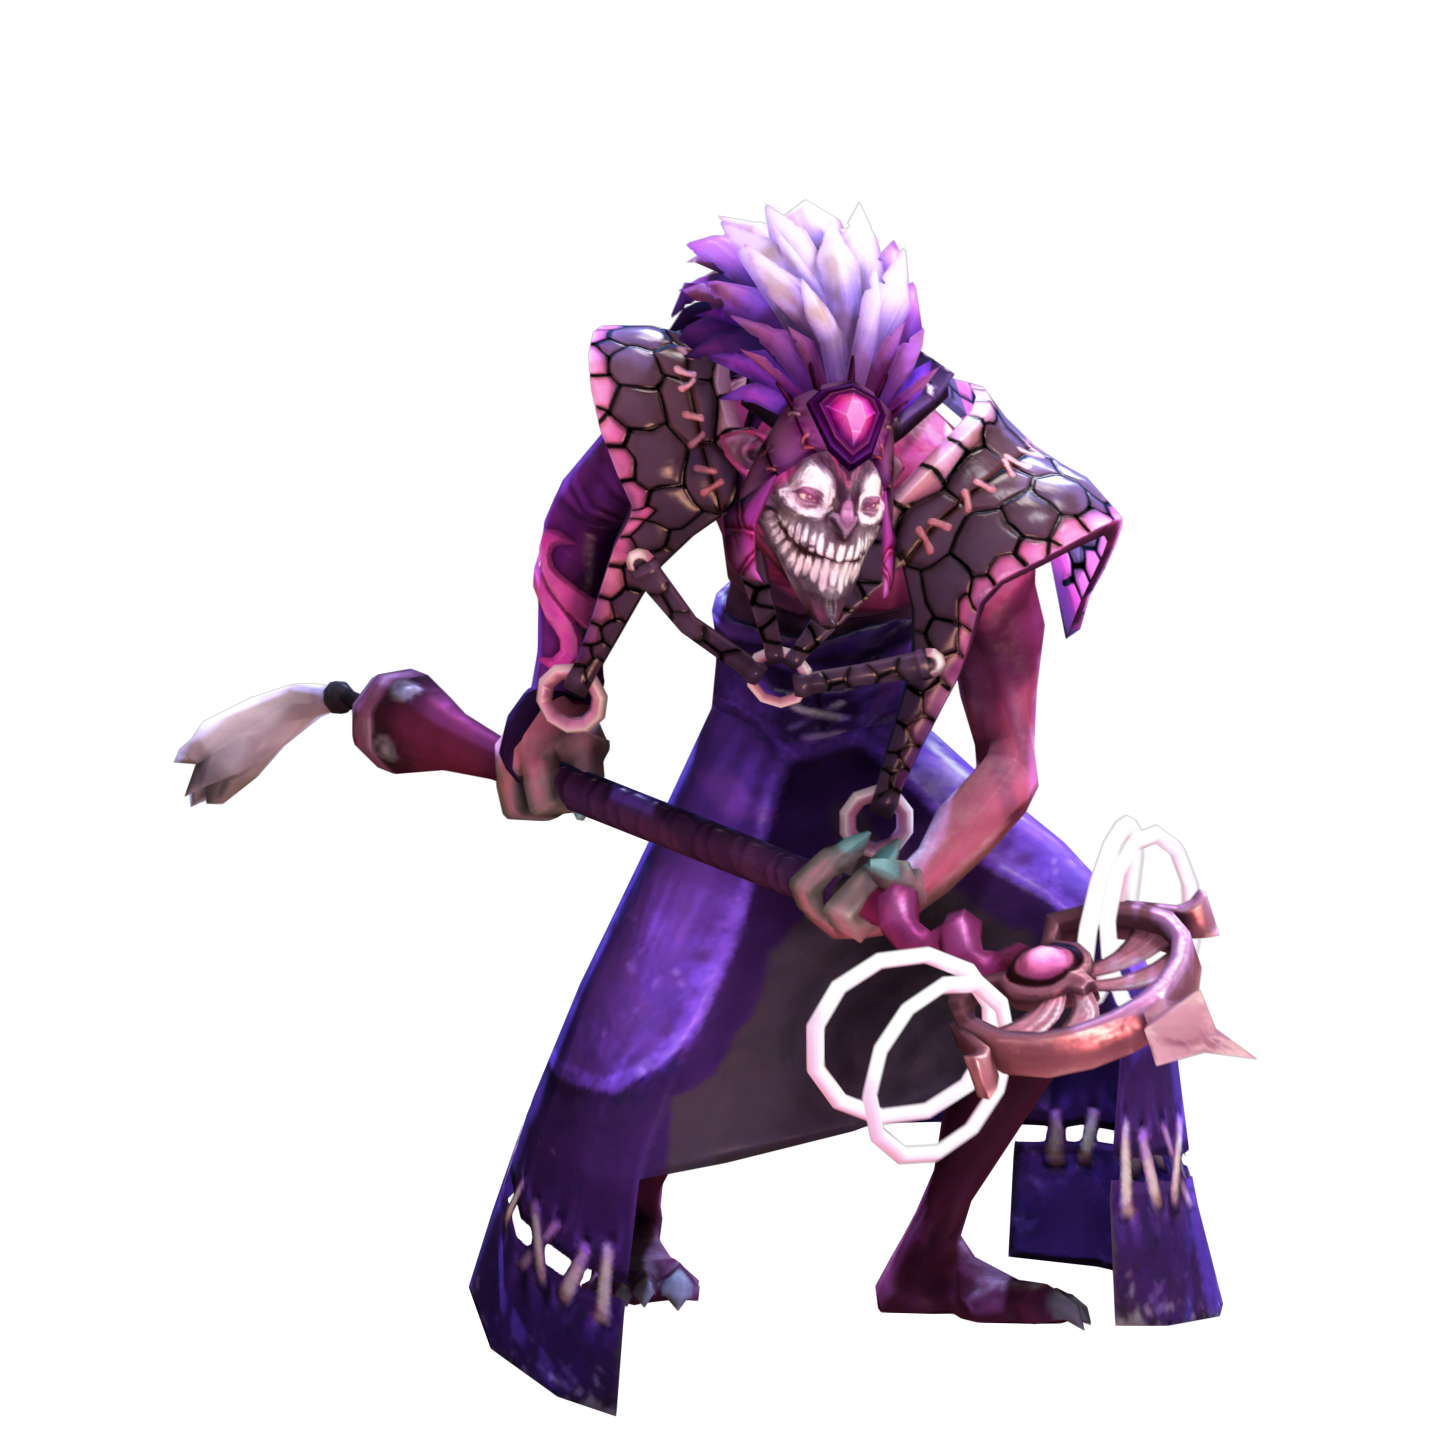
Dazzle is a hard support who turns close fights with saves, healing, and armor swings.
 UniversalRanged
Pick Dazzle when your team has durable cores that benefit from repeated healing and armor changes.
Avoid Dazzle when allies cannot stay near each other or need a roaming initiator instead.
Do not cast Shallow Grave at the first sign of damage; save it for committed lethal pressure.
Use this balanced support path when your team needs saves, mana, and reliable repositioning.
Start with regeneration, vision, and a charge item for contested trades.
Add movement and charges to survive lane pressure and answer enemy spells.
Restore allied mana while gaining a protective tool for threatened teammates.
Reposition allies or yourself away from focused targets and dangerous ground.
Turn mana boots into a team heal for repeated grouped engagements.
Add protection against late bursts while keeping detection available.
Guardian GreavesGuardian Greaves provide team healing, mana restoration, and a strong response to prolonged damage.Guide ↗
Use this against pickoff lineups that jump supports or expose isolated allies.
Open with regeneration and vision so your lane partner can trade safely.
Finish mobility and charges before enemy rotations punish weak positioning.
Buy invisibility protection to rescue a focused ally or escape an initiation.
Use Force Staff to break distance-based disables and dangerous formation clumps.
Carry detection while layering saves against repeated catch attempts.
Add a delayed protection item when enemies reliably start fights on you.
Guardian GreavesGuardian Greaves provide team healing, mana restoration, and a strong response to prolonged damage.Guide ↗
Use this when physical damage threatens several allies and your team wants to group early.
Bring lane regeneration, vision, and charges instead of greedy attributes.
Build basic mobility while preserving wards for a contested pull area.
Create a shield that absorbs focused physical damage before Grave is necessary.
Provide a team armor aura when allies want to take towers and grouped fights.
Upgrade into sustained team healing for long engagements around objectives.
Buy an answer to physical focus while maintaining vision and smoke access.
Guardian GreavesGuardian Greaves provide team healing, mana restoration, and a strong response to prolonged damage.Guide ↗
Use this when fights happen across awkward terrain and allies need distant healing support.
Protect the lane with cheap regeneration, vision, and emergency charges.
Secure boots and a wand before spending gold on range and mana tools.
Increase cast reach so saves can arrive from safer high ground positions.
Combine range with displacement to help allies leave traps and cliffs.
Choose a team heal when allies group around prolonged objective fights.
Add a late defensive reset while retaining range for distant rescues.
Guardian GreavesGuardian Greaves provide team healing, mana restoration, and a strong response to prolonged damage.Guide ↗
Use this only when your team has clear initiation and needs extra disable after surviving the opening.
Keep the usual support lane kit because this path cannot skip vision or regeneration.
Build movement and charges before investing in an expensive active item.
Use a cyclone to interrupt channels or set up a safe Poison Touch follow-up.
Add displacement so enemies cannot simply walk onto your defensive position.
Keep a survival item for fights where Projection exposes your body location.
Finish with hard control when allies can immediately punish a disabled target.
Guardian GreavesGuardian Greaves provide team healing, mana restoration, and a strong response to prolonged damage.Guide ↗
These are our editorial build paths. Labels describe their purpose, not measured popularity or win rate. Click an item for its use. Each stage is an inventory snapshot: keep earlier items, use consumables, upgrade components, and replace small items as space runs out. Boots, defenses, and late slots can change with the draft.
More match and build examples: Dota 2 Pro Tracker. Item names and images: Valve.
Our picks, based on how the spells work together.
Shallow Grave and Shadow Wave help allies survive around Chronosphere's aftermath.
Stampede lets Dazzle reposition for saves while Weave supports Centaur's front-line engagements.
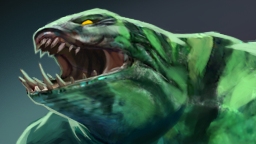
Ravage gives Dazzle time to heal nearby allies while Tidehunter holds attention at the front.
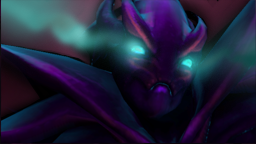
Dazzle can protect Spectre during her committed fights and heal nearby teammates.
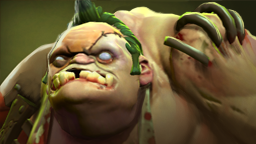
Pudge's close-range catches group targets where Shadow Wave can damage enemies repeatedly.
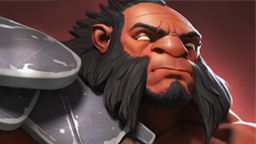
Culling Blade can kill through Shallow Grave, removing Dazzle's most important save.
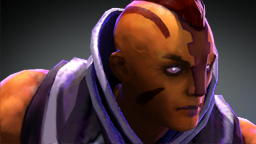
Mana Break drains Dazzle’s resources; Counterspell can reflect targeted enemy spells such as Poison Touch.
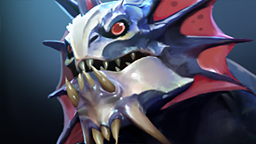
Corrosive Haze reveals hidden retreats and lowers armor, making Dazzle easier to focus.
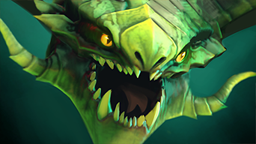
Viper Strike disables passives and heavily slows Dazzle, making safe positioning difficult.
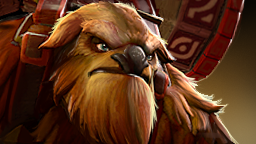
Fissure and chained Aftershock stuns can prevent Dazzle from casting Grave during initiation.
These are useful ability interactions, not a statistical ranking or guaranteed matchups. Positioning, items, and cooldowns change the result. Hero links open a full guide when available, otherwise the directory.
Ability references from Valve: Faceless Void · Centaur Warrunner · Tidehunter · Spectre · Pudge · Axe · Anti-Mage · Slardar · Viper · Earthshaker. Checked 2026-09-21.
 Poison TouchUnit targetPoison multiple enemies with damage over time and a slow. Dazzle’s attacks refresh the debuff and strengthen its slow.
 Shallow GraveUnit targetPrevent ordinary damage from killing an ally and amplify healing based on their low health. Axe’s Culling Blade can still kill through Grave.
 Shadow WaveUnit targetBounce healing between allies and damage enemies near each affected unit. Dazzle is always healed; clustered allies can cause overlapping damage.
 Nothl ProjectionUltimateLeave Dazzle’s body behind and control an invulnerable spirit with empowered basic abilities. A visible tether pulls the spirit back if it travels too far.
 Strength19+2.3 / lvl
 Agility20+1.7 / lvl
 Intelligence25+3.5 / lvl
Abilities stack armor bonuses on affected allies and armor reduction on affected enemies.
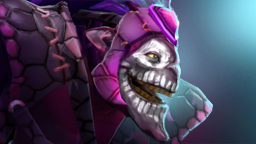
Dazzle is a hard support who turns close fights with saves, healing, and armor swings.
Dazzle is a ranged Universal hero. Our recommended role is hard support.
Dazzle is a hard support who turns clustered skirmishes through healing, armor swings, and timely saves. Poison Touch pressures targets, while Weave rewards repeatedly affecting allies and enemies. He works best beside a core willing to fight around his spells rather than leaving him isolated.
In lane, stand near your core but outside obvious initiation range. Use Poison Touch when an enemy cannot immediately disengage, then attack to refresh its duration and strengthen the slow. Shadow Wave can swing a trade when allies and enemies stand close together.
During fights, apply spells across as many relevant heroes as possible because each affected unit receives Weave. Hold Shallow Grave for lethal commitment, not ordinary damage. When allies cluster near enemies, Shadow Wave heals your team while dealing multiple damaging instances around them.

Start with regeneration, wards, detection, and a charge item rather than expensive boots. Arcane Boots and Pavise provide early team value, while Force Staff solves positioning. Guardian Greaves suit grouped engagements. Choose Glimmer Cape, Lotus Orb, or Aeon Disk against the threat that reaches you.
Cast Poison Touch when your lane partner can follow the target, then keep attacking safely to refresh its duration and increase the slow. Do not overextend for a refresh through enemy creeps or a waiting support; preserving your health keeps the lane stable.
Watch for the enemy's finishing damage before using Shallow Grave. The protected ally cannot die from ordinary damage, but Axe's Culling Blade still kills through it. Stay close enough to follow with Shadow Wave, yet avoid standing in the same disable.
Begin Nothl Projection only when your body is hidden behind allies or terrain. The spirit can cast spells, attack, and use items, but the visible tether exposes its origin. Return early if enemies reach your body or the pull starts ruining your position. The base spell cannot be cast while disabled; that requires its Shard upgrade.
| Detail | What it means in your game |
|---|---|
| Poison Touch | Poison multiple enemies with damage over time and a slow. Dazzle’s attacks refresh the debuff and strengthen its slow. |
| Shallow Grave | Prevent ordinary damage from killing an ally and amplify healing based on their low health. Axe’s Culling Blade can still kill through Grave. |
| Shadow Wave | Bounce healing between allies and damage enemies near each affected unit. Dazzle is always healed; clustered allies can cause overlapping damage. |
Dazzle fits hard support because he brings lane pressure, wards, healing, saves, and teamfight utility without needing farm. He should prioritize his core's safety, vision around dangerous routes, and defensive items that solve the enemy's initiation pattern.
Guardian Greaves are a dependable main item when allies want sustained grouped fights. Buy Force Staff when movement saves matter, Glimmer Cape against magical focus, and Lotus Orb against targeted disables. Aeon Disk is valuable when enemies consistently begin fights on Dazzle.
Beginners should focus on staying behind their core, keeping wards active, and saving Shallow Grave for committed danger. Use Poison Touch only when allies can follow. Shadow Wave is strongest when it heals allies beside enemies, so avoid wasting it on distant targets.
Nothl Projection sends Dazzle out as an invulnerable spirit while his body remains behind with a visible tether. His basic spells gain stronger effects during it, but distance pulls the spirit back. Use it to fight from safety, not as permission to abandon your body.
6 random heroes · Opens the hero directory.