Why pick Shadow Fiend?
Pick Shadow Fiend when your team can protect a ranged damage dealer and hold enemies near him.
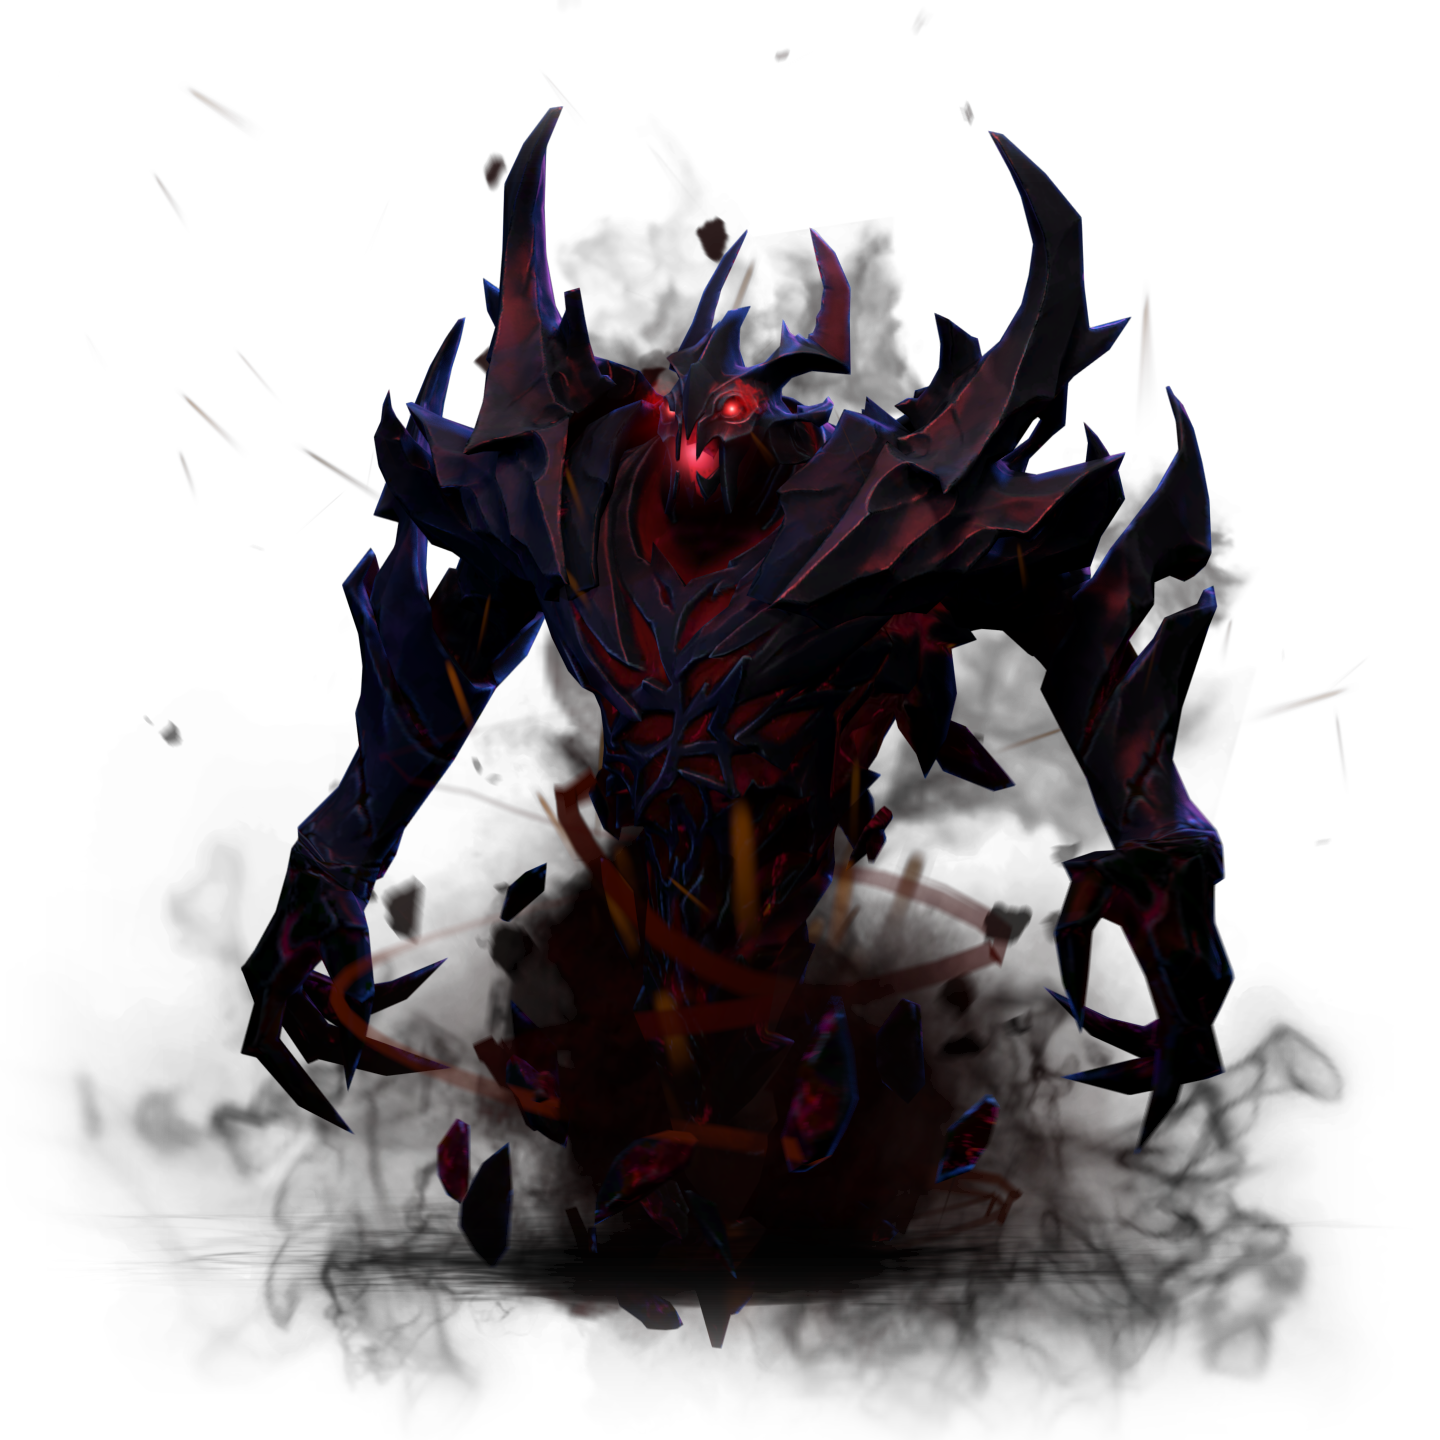
His silhouette, red glow, and drifting souls make every spell cast feel threatening and deliberate.
Shadow Fiend rules mid through soul-fueled damage, sharp razes, and punishing Requiem turns.
 AgilityRanged
Pick Shadow Fiend when your team can protect a ranged damage dealer and hold enemies near him.
Avoid him when your lineup lacks frontliners or reliable control against fast gap-closing enemies.
Do not cast Requiem from safety when its lines cannot strike enemies at close range.
Use this balanced route when your team needs dependable physical damage and direct teamfight presence.
Secure lane farm without losing health.
Refill mana and contest runes.
Add attack range and safer positioning.
Ignore disabling spells during fights.
Upgrade movement and add damage.
Gain a fast initiation angle.
Black King BarDebuff immunity and magic resistance protect a planned attack or casting window.Guide ↗
Use this route against vulnerable backliners when your allies can create pickoff windows around the map.
Preserve lane resources and damage.
Control runes and survive spell trades.
Create a surprise attack angle.
Silence an isolated target.
Upgrade invisibility for safer entries.
Turn picks into decisive damage.
Black King BarDebuff immunity and magic resistance protect a planned attack or casting window.Guide ↗
Use this spell-focused route when durable enemies force repeated razes and prolonged Requiem engagements.
Maintain health while contesting creeps.
Refill mana and move between runes.
Add mana and cast range utility.
Survive disables before casting.
Improve sustained spell pressure.
Reposition after committing spells.
Black King BarDebuff immunity and magic resistance protect a planned attack or casting window.Guide ↗
Use this greedier attack-speed route when your team can protect you while you recover farm through nearby waves.
Start with efficient lane attributes.
Recover mana and secure ranged creeps.
Accelerate wave clearing safely.
Add dispel and fighting speed.
Convert farm into sustained damage.
Gain mobility for distant waves.
Black King BarDebuff immunity and magic resistance protect a planned attack or casting window.Guide ↗
Use this defensive route against jump-heavy lineups that can reach you before your allies establish control.
Keep lane attributes and regeneration.
Store rune value and emergency charges.
Build distance from diving enemies.
Block disables and escape initiation.
Restore health during long fights.
Add a final emergency defense.
Black King BarDebuff immunity and magic resistance protect a planned attack or casting window.Guide ↗
These are our editorial build paths. Labels describe their purpose, not measured popularity or win rate. Click an item for its use. Each stage is an inventory snapshot: keep earlier items, use consumables, upgrade components, and replace small items as space runs out. Boots, defenses, and late slots can change with the draft.
More match and build examples: Dota 2 Pro Tracker. Item names and images: Valve.
Our picks, based on how the spells work together.

Earthshaker's stuns hold clustered enemies in place for close Requiem lines and repeated razes.

Vengeful Spirit can swap an enemy into Requiem range and boosts nearby allied damage.

Slardar's armor reduction stacks with Presence of the Dark Lord for punishing physical attacks.

Crystal Maiden's roots and slows keep enemies inside raze range while her aura supports casting.
Warlock slows a shared area and stuns enemies with Chaotic Offering, helping Shadow Fiend line up Requiem.
Anti-Mage can Blink onto Shadow Fiend, burn his mana and chase after his spell commitment.

Queen of Pain can blink away from razes and pressure Shadow Fiend with persistent dagger damage.
Pudge can hook Shadow Fiend from a safe position, then disable him with Dismember.
Slardar's sprint closes distance quickly, while Corrosive Haze exposes and amplifies physical damage.

Viper Strike disables Necromastery soul gain while poison slows make raze spacing much harder.
These are useful ability interactions, not a statistical ranking or guaranteed matchups. Positioning, items, and cooldowns change the result. Hero links open a full guide when available, otherwise the directory.
Ability references from Valve: Earthshaker · Vengeful Spirit · Slardar · Crystal Maiden · Warlock · Anti-Mage · Queen of Pain · Pudge · Slardar · Viper. Checked 2026-09-21.
 ShadowrazeNo targetDamages an area in front of Shadow Fiend, with additional damage from souls and stacking amplification on targets hit.
 Feast of SoulsNo targetTemporarily increases movement and attack speed while collecting nearby enemy souls. Which souls remain depends on whether their owners survive.
 Presence of the Dark LordPassiveReduces the armor of nearby enemies, improving allied physical damage against them.
 Requiem of SoulsUltimateReleases lines of soul energy. Nearby targets can take multiple hits and suffer fear, slow and reduced magic resistance. Also releases on death, without fear or movement slow.
 Strength19+2.7 / lvlAgility25+3.6 / lvl
 Intelligence16+2.2 / lvl
Kills and denies collect souls that add attack damage. Death releases some souls; Break stops new stacks but does not remove existing bonuses.
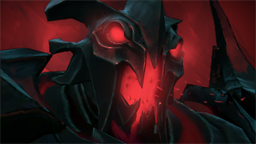
Shadow Fiend rules mid through soul-fueled damage, sharp razes, and punishing Requiem turns.
Shadow Fiend is a ranged Agility hero. Our recommended role is mid.
Shadow Fiend is a mid laner who turns precise last hits into attack damage, then threatens clustered enemies with close Requiem releases. He needs space, vision, and disciplined positioning because death sheds souls and leaves a fragile ranged core exposed.
Prioritize safe last hits and denies because Necromastery gains damage from both, including neutral creeps later. Use Shadowraze to secure contested creeps rather than blindly pushing the wave. Keep enough mana for a defensive raze sequence when an enemy mid approaches.
Enter fights after allies reveal dangerous disables, then attack from range until enemies commit. Approach a close Requiem only when allied control protects the cast. Several lines striking one target create fear, slows, and reduced magic resistance for follow-up spells.

Buy Black King Bar when enemy disables prevent your Requiem or sustained attacks. Hurricane Pike is valuable against divers because it creates distance without abandoning damage range. Choose Desolator for physical pressure, while defensive items matter more when opponents consistently reach you.
Face the intended target and line up Shadowraze’s area before casting. A hit adds amplification for later razes, and another hit refreshes the stack duration. Use allied control to land follow-up casts rather than walking predictably into an enemy’s disable.
Activate Feast of Souls before entering a planned fight near dying units, not after the action has scattered. The temporary movement and attack speed improve your positioning, while collected souls reward fighting around enemies your team can actually finish.
Treat Requiem of Souls as a close-range commitment rather than distant wave clear. More lines can damage nearby enemies, creating longer fear and stronger debuffs. Remember that the automatic death cast damages enemies but does not apply its fear or movement slow.
| Detail | What it means in your game |
|---|---|
| Shadowraze | Damages an area in front of Shadow Fiend, with additional damage from souls and stacking amplification on targets hit. |
| Feast of Souls | Temporarily increases movement and attack speed while collecting nearby enemy souls. Which souls remain depends on whether their owners survive. |
| Presence of the Dark Lord | Reduces the armor of nearby enemies, improving allied physical damage against them. |
Shadow Fiend usually plays mid because solo experience and rune access help him collect souls, secure items, and threaten rotations. He can carry later, but he still needs allies to provide vision, control, and a frontline.
Black King Bar is the most dependable first major defensive choice against disables. Buy Hurricane Pike against divers, Desolator when physical pressure is safe, and Satanic when long fights demand recovery after enemies commit their damage.
Practice last hitting before forcing hero kills. Collect Necromastery souls steadily, learn the supplied Shadowraze’s area and facing, and keep the wave near safer ground. A calm lane creates more opportunities than repeatedly spending mana on low-confidence razes.
Requiem of Souls releases lines based on captured souls, so cast it close to enemies whenever possible. Units hit are feared and weakened, but those effects do not occur when Requiem automatically casts after Shadow Fiend dies.
6 random heroes · Opens the hero directory.