Why pick Warlock?
Pick Warlock when your team wants sustained lane help and a decisive area-control ultimate.
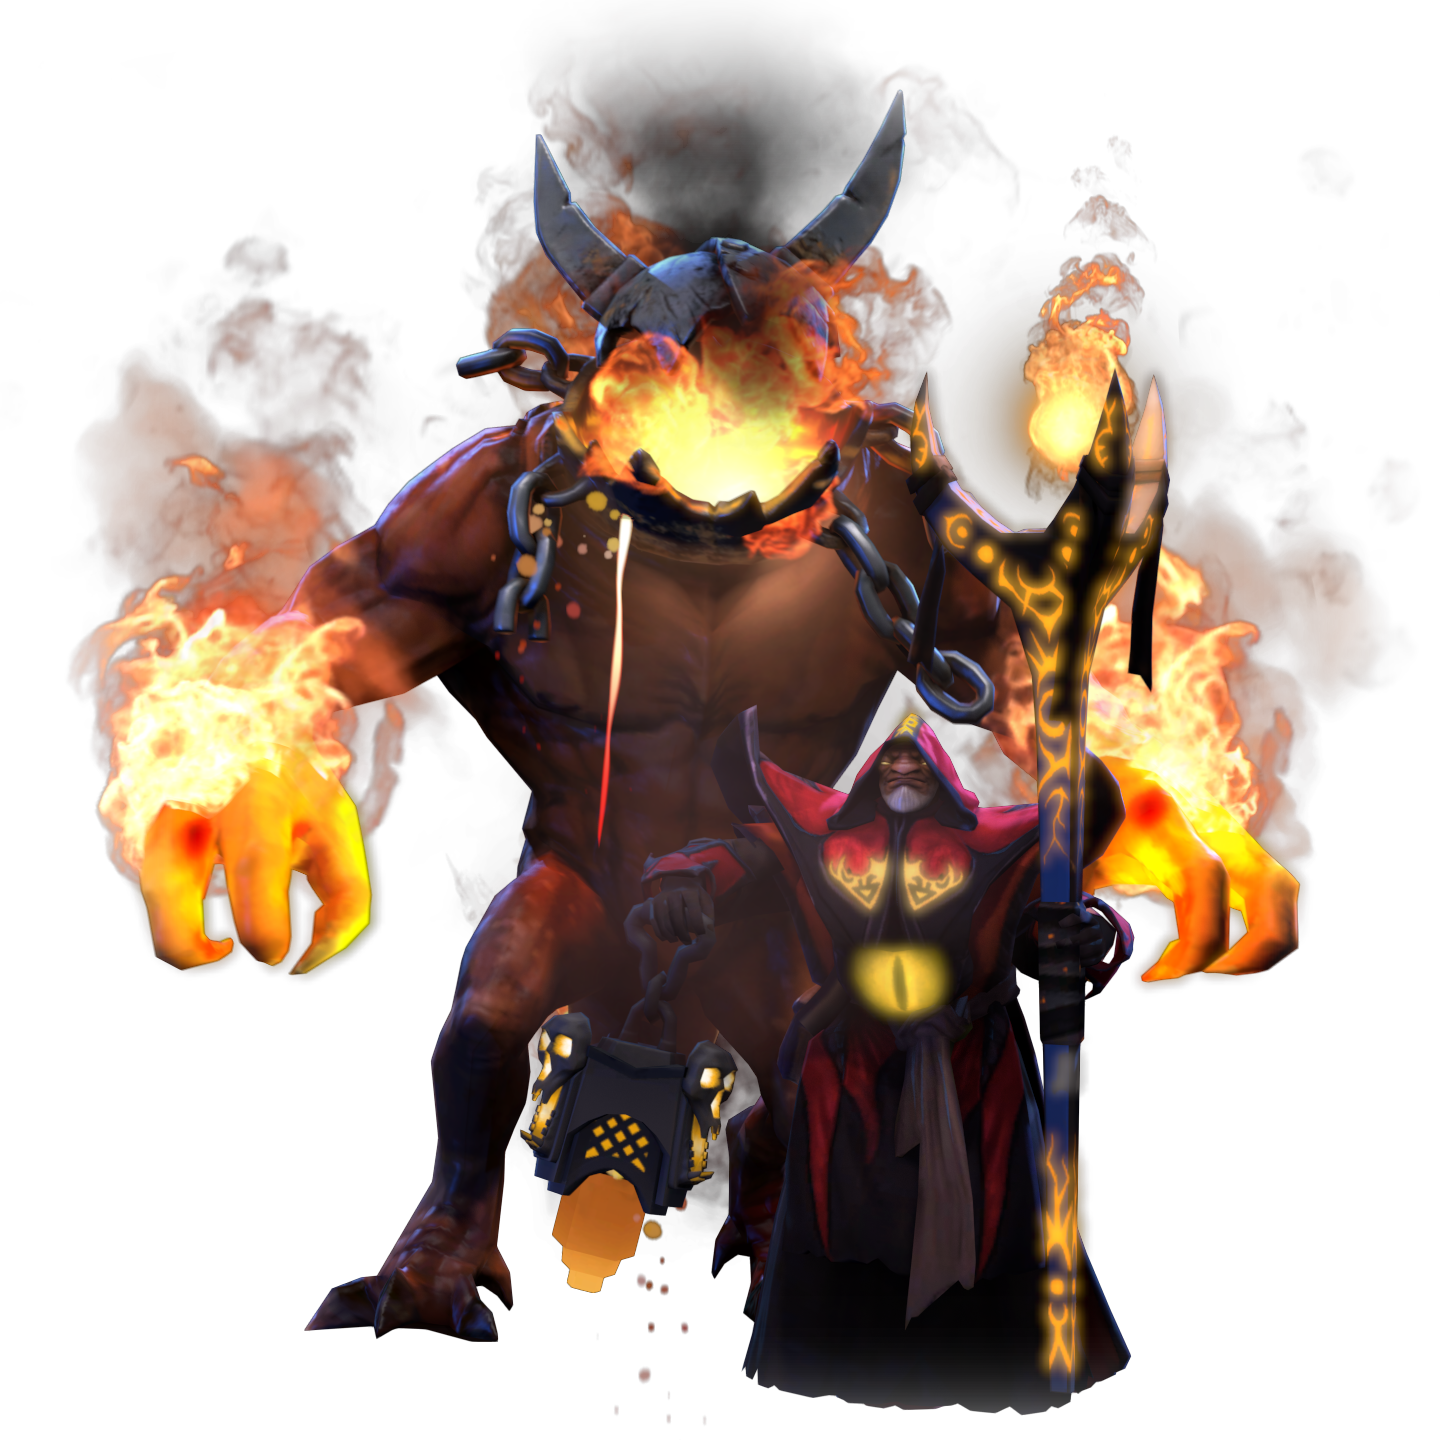
Keep behind allies, bind exposed enemies, and reserve your Golem for a committed fight.
Warlock is a patient hard support who turns clustered fights into punishing disasters.
 IntelligenceRanged
Pick Warlock when your team wants sustained lane help and a decisive area-control ultimate.
Avoid Warlock when your lineup needs a roaming support who can reliably start fights alone.
Do not channel Upheaval in open view before enemies spend their interrupts or commit to an escape.
Use this dependable support path when your team needs saves, mana, and teamfight control.
Bring regeneration and vision to lane.
Keep your core healthy through trades.
Restore mana before objective fights.
Save an ally from focused damage.
Survive initiation and reset position.
Add a second major teamfight tool.
Glimmer CapeGlimmer Cape saves an ally or lets Warlock disappear after casting his major spells.Guide ↗
Choose this when allied cores want a durable healing item for repeated grouped pushes.
Arrive with vision and lane supplies.
Build mana sustain without abandoning wards.
Protect the group around the first tower.
Bring a large recovery tool to pushes.
Stand safely near prolonged objectives.
Add control after the team sustain is complete.
Glimmer CapeGlimmer Cape saves an ally or lets Warlock disappear after casting his major spells.Guide ↗
Choose this against heavy spell damage when your team must hold ground through enemy bursts.
Sustain the lane and protect vision.
Finish mana boots for spell access.
Start a barrier before large fights.
Cover allies against repeated magic damage.
Add a repositioning save.
Buy a final answer to dangerous channeling.
Glimmer CapeGlimmer Cape saves an ally or lets Warlock disappear after casting his major spells.Guide ↗
Use this when safe positioning and long casting distance matter more than immediate healing.
Keep lane resources and detection available.
Use mana to trade without returning early.
Cast from safer ground near skirmishes.
Create distance from diving heroes.
Turn catches into an allied response.
Gain a late defensive reset.
Glimmer CapeGlimmer Cape saves an ally or lets Warlock disappear after casting his major spells.Guide ↗
Use this greedy utility route only when your lane is calm and allies can cover defensive items.
Maintain vision while saving for utility.
Convert small lane advantages into mobility.
Catch a target before the fight spreads.
Protect yourself after committing spells.
Add a strong answer to invisibility.
Refresh decisive spells during a base defense.
Glimmer CapeGlimmer Cape saves an ally or lets Warlock disappear after casting his major spells.Guide ↗
These are our editorial build paths. Labels describe their purpose, not measured popularity or win rate. Click an item for its use. Each stage is an inventory snapshot: keep earlier items, use consumables, upgrade components, and replace small items as space runs out. Boots, defenses, and late slots can change with the draft.
More match and build examples: Dota 2 Pro Tracker. Item names and images: Valve.
Our picks, based on how the spells work together.
Moon Glaives damages clustered units, making Fatal Bonds especially punishing during a packed fight.
Upheaval slows targets that Ursa wants to keep within his repeated attacks.
Chaotic Offering stuns a shared area, giving Earthshaker time to follow up on clustered enemies.
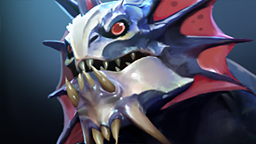
Slardar's stun and armor reduction help the Golem and allied attacks punish a trapped target.
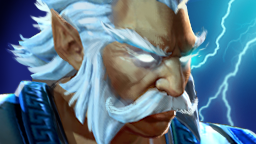
Zeus can damage several bonded enemies from range while Warlock controls their movement.
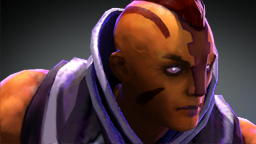
Anti-Mage burns Warlock's mana, Blinks past the frontline, and can reflect targeted Shadow Word with Counterspell.
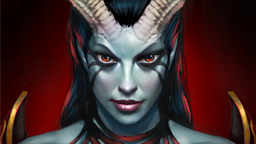
Queen of Pain can Blink around Upheaval and quickly reach Warlock with burst damage.
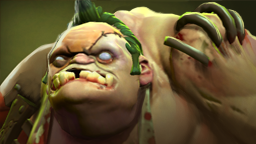
Meat Hook can pull Warlock from safety, while Dismember interrupts his important Upheaval channel.
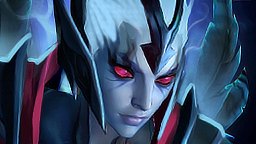
Nether Swap interrupts Upheaval and can place Warlock inside the enemy formation after he commits.
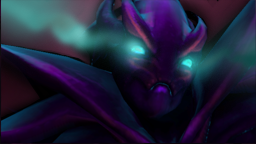
Haunt creates global pressure on Warlock, making his backline position difficult to preserve.
These are useful ability interactions, not a statistical ranking or guaranteed matchups. Positioning, items, and cooldowns change the result. Hero links open a full guide when available, otherwise the directory.
Ability references from Valve: Luna · Ursa · Earthshaker · Slardar · Zeus · Anti-Mage · Queen of Pain · Pudge · Vengeful Spirit · Spectre. Checked 2026-09-21.
 Fatal BondsUnit targetLinks visible enemies so a percentage of damage dealt to one is also dealt to the others.
 Shadow WordUnit targetEnchants a unit to heal nearby allies and damage nearby enemies. The target is also healed or damaged according to its team.
 UpheavalPoint targetChannels a growing area slow and damage. The slow grows with the length of the channel rather than each enemy’s time inside.
 Chaotic OfferingUltimateSummons a Golem and briefly stuns enemies in the landing area. The Golem continues fighting with attack and area damage.
 Strength22+2.4 / lvl
 Agility10+1 / lvlIntelligence25+3.1 / lvl
Enemies dying while affected by Warlock’s abilities create imps. The imps seek targets, favor bonded heroes and explode on arrival or death.
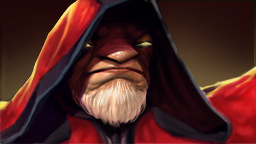
Warlock is a patient hard support who turns clustered fights into punishing disasters.
Warlock is a ranged Intelligence hero. Our recommended role is hard support.
Warlock is a hard support built around turning enemy proximity into a liability. Fatal Bonds spreads allied damage across visible targets, while Shadow Word sustains a partner or punishes an enemy. He prefers deliberate fights where allies can protect his vulnerable casting position.
In lane, stay near your core rather than chasing deep for minor damage. Use Shadow Word after an enemy commits to a trade, then let its nearby damage pressure their partner. Fatal Bonds is strongest when opponents stand with their creep wave.
Begin a major fight from fog or behind durable allies. Cast Fatal Bonds on grouped visible enemies, then drop Chaotic Offering where the stun catches an escape route. Channel Upheaval only after opponents have committed or their interrupts are occupied elsewhere. After the initial cast, control the Golem separately to pressure an exposed hero or structure. Do not leave Warlock himself in attack range just to direct the summon.

Buy mana, vision, and defensive positioning before luxury damage. Arcane Boots keep your spells available, while Glimmer Cape and Force Staff preserve the caster who must remain alive. Choose team recovery or magical protection when your allies need to fight together.
Cast Fatal Bonds when enemy heroes stand near several creeps or summons. Damage dealt to one bound unit reaches the others, so your ally can pressure a hero while naturally clearing nearby units.
Use Shadow Word on an allied partner after the enemy begins a committed exchange. The target receives healing while nearby enemy units take damage, making a close trade much less favorable for opponents.
Place Upheaval where enemies must cross to retreat or reach an objective. Wait for allied disables or enemy commitment, because an early exposed channel is easily interrupted or simply avoided. The slow grows with total channel time, not how long each enemy has stood inside the area.
| Detail | What it means in your game |
|---|---|
| Fatal Bonds | Links visible enemies so a percentage of damage dealt to one is also dealt to the others. |
| Shadow Word | Enchants a unit to heal nearby allies and damage nearby enemies. The target is also healed or damaged according to its team. |
| Upheaval | Channels a growing area slow and damage. The slow grows with the length of the channel rather than each enemy’s time inside. |
Warlock is usually a hard support. He brings lane sustain, wards, teamfight control, and defensive items, while a farmed ally supplies the sustained damage that Fatal Bonds multiplies.
Start with regeneration, a Magic Stick, and vision. Arcane Boots support frequent spells, then Glimmer Cape or Force Staff helps you survive after casting. Build team items when your lineup fights grouped.
Yes, Warlock is approachable because his basic spells have direct purposes. New players should focus on safe positioning, saving Shadow Word for meaningful trades, and waiting to channel Upheaval until allies create safety.
Chaotic Offering summons a Golem and stuns enemies in its landing area. Use it on a committed cluster or choke point, then let the Golem pressure survivors. Its long commitment makes careless casts costly.
 BeastmasterUniversal
 ChenIntelligence
 WeaverAgility
 PhoenixStrength
 Lone DruidAgility
 LeshracIntelligence
6 random heroes · Opens the hero directory.