Why pick Tidehunter?
Pick Tidehunter when your team needs a sturdy initiator who can punish grouped enemies.
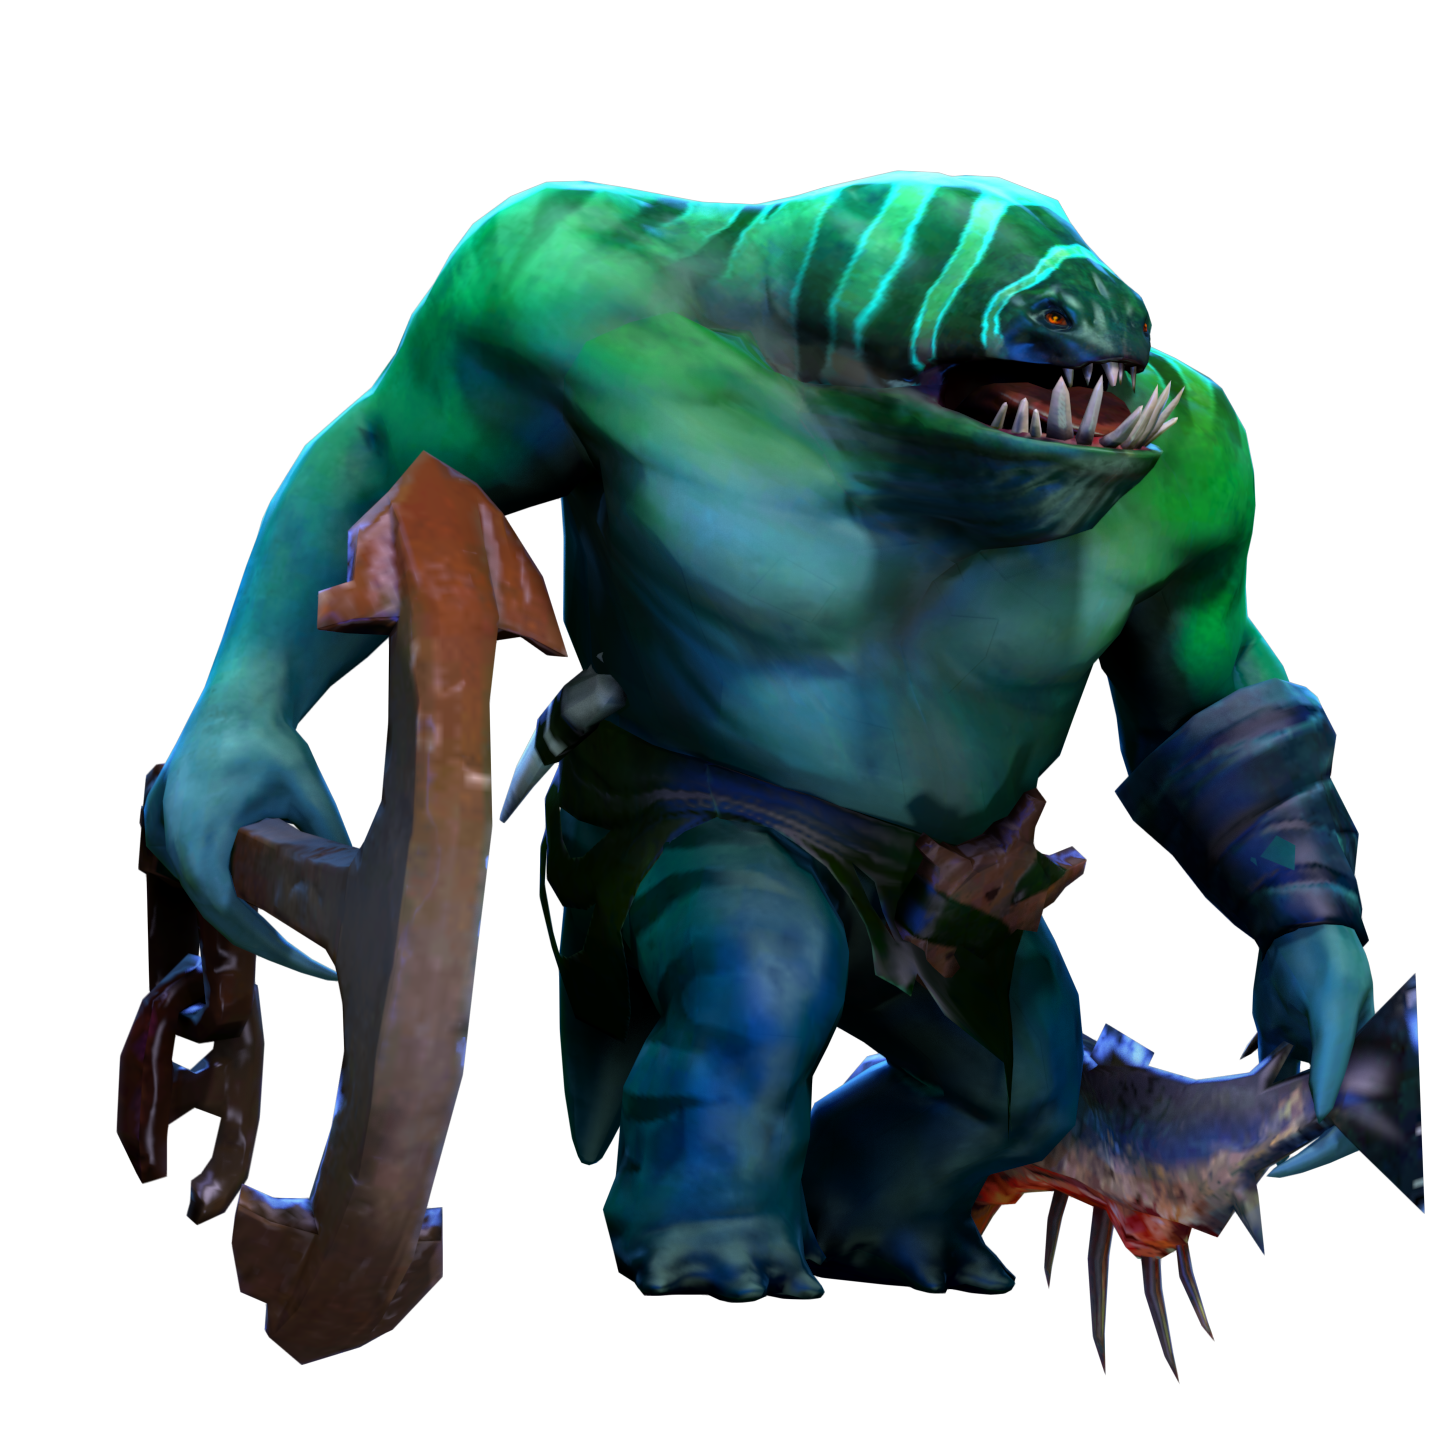
Hold a hidden initiation angle and let allies turn Ravage into a controlled fight.
Tidehunter is a durable offlaner who turns close fights with disruption and a crushing initiation.
 StrengthMelee
Pick Tidehunter when your team needs a sturdy initiator who can punish grouped enemies.
Avoid Tidehunter when the team needs early tower pressure or reliable long-range catch.
Do not reveal yourself early; enemies spread out or disable you before Ravage can reach them.
Use this balanced route when your team needs dependable initiation and a frontliner for ordinary fights.
Secure last hits without surrendering health.
Win trades with Anchor Smash.
Find a hidden angle for initiation.
Survive the first enemy response.
Protect allies after Ravage.
Add a second decisive engagement tool.
Blink DaggerBlink Dagger creates the fog angles Tidehunter needs to land Ravage before enemies can disengage.Guide ↗
Buy team attack protection when allies need Crimson Guard. Personal damage block is not the reason to stack this route with Kraken Shell.
Hold the lane against right clicks.
Keep regeneration for repeated trades.
Arrive before physical damage peaks.
Stand between enemies and allies.
Reduce incoming attack damage.
Become difficult to remove from objectives.
Blink DaggerBlink Dagger creates the fog angles Tidehunter needs to land Ravage before enemies can disengage.Guide ↗
Take this path against dangerous targeted spells and magical bursts that interrupt your entry.
Stay healthy through magical harassment.
Preserve mana for defensive casts.
Reach the fight before allies fall.
Reflect or dispel key targeting.
Cover allies from magical damage.
Turn enemy focus into wasted spells.
Blink DaggerBlink Dagger creates the fog angles Tidehunter needs to land Ravage before enemies can disengage.Guide ↗
Use this route when your allies benefit more from sustained healing and mana than personal durability.
Trade safely while collecting lane experience.
Keep mana available for allies.
Bring a recovery tool to skirmishes.
Dispel and heal the team after initiation.
Lead pushes without abandoning allies.
Add a late answer to burst damage.
Blink DaggerBlink Dagger creates the fog angles Tidehunter needs to land Ravage before enemies can disengage.Guide ↗
Try this greedy route only with a protected lane and allies who can force fights around repeated Ravage.
Farm safely without chasing deep.
Convert lane space into a fast blink.
Start fights from fog.
Avoid dying before a second spell cycle.
Prepare a second Ravage for long fights.
Punish teams that commit everything at once.
Blink DaggerBlink Dagger creates the fog angles Tidehunter needs to land Ravage before enemies can disengage.Guide ↗
These are our editorial build paths. Labels describe their purpose, not measured popularity or win rate. Click an item for its use. Each stage is an inventory snapshot: keep earlier items, use consumables, upgrade components, and replace small items as space runs out. Boots, defenses, and late slots can change with the draft.
More match and build examples: Dota 2 Pro Tracker. Item names and images: Valve.
Our picks, based on how the spells work together.
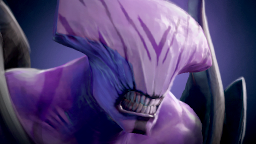
Chronosphere holds enemies together, letting Tidehunter place Ravage after the sphere ends.
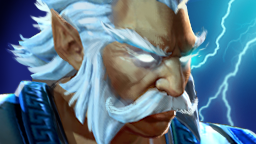
Ravage keeps enemies in Zeus's spell damage while Tidehunter supplies the front line Zeus lacks.
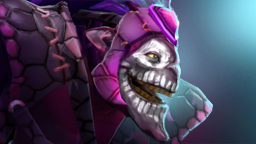
Shallow Grave can keep Tidehunter alive after he commits deeply with Blink and Ravage.
Ravage holds enemies in place for Macropyre and makes Ice Path easier to connect.

Ravage stuns nearby enemies so Crystal Maiden can channel Freezing Field while Tidehunter absorbs attention.
Counterspell can block and reflect Gush, while Blink lets Anti-Mage escape a slow approach.
Viper Strike disables Tidehunter's passives, reducing the protection and cleansing value of Kraken Shell.
Corrosive Haze strips armor and reveals Tidehunter, making a hidden Blink initiation much harder.
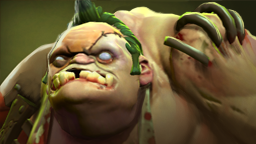
Meat Hook can pull Tidehunter away from his intended Ravage position, and Dismember stops his response.
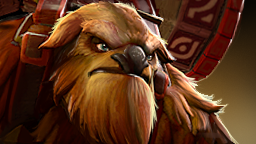
Fissure can block Tidehunter's route into a fight, while chained stuns may prevent Ravage.
These are useful ability interactions, not a statistical ranking or guaranteed matchups. Positioning, items, and cooldowns change the result. Hero links open a full guide when available, otherwise the directory.
Ability references from Valve: Faceless Void · Zeus · Dazzle · Jakiro · Crystal Maiden · Anti-Mage · Viper · Slardar · Pudge · Earthshaker. Checked 2026-09-21.
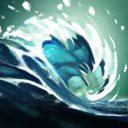 GushUnit targetDamage an enemy and reduce its armor and movement speed. Scepter changes Gush into a ground-targeted wave.
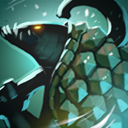 Kraken ShellNo targetPassively block physical attack damage and trigger a strong dispel after enough damage is taken. Activation increases block while reducing movement speed.
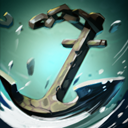 Anchor SmashNo targetAttack nearby enemies with bonus damage and reduce their attack damage. Its area grows with Tidehunter’s attack range.
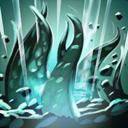 RavageUltimateSend tentacles outward to damage and stun nearby enemies, including invisible units. The expanding wave does not strike every distance at once.
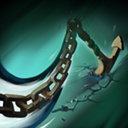 Dead in the WaterUnit targetRequires Aghanim’s Shard. Attach a destructible anchor that leashes an enemy hero and severely slows attempts to drag it away.Strength25+3.7 / lvl
 Agility15+1.5 / lvl
 Intelligence20+1.7 / lvl
Hero kills and deaths under Tidehunter’s debuffs leave fish he can eat for permanent health, attack range and bonus damage block. Even hero levels also grant a fish.
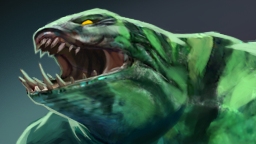
Tidehunter is a durable offlaner who turns close fights with disruption and a crushing initiation.
Tidehunter is a melee Strength hero. Our recommended role is offlane.
Tidehunter plays the offlane as a durable threat who changes the shape of crowded fights. He farms safely with Anchor Smash, resists physical pressure through Kraken Shell, and waits outside enemy vision. Choose fights around Ravage, then remain nearby to reduce enemy damage.
Start by securing melee creeps and trading only when Anchor Smash can hit both heroes and the wave. Kraken Shell rewards measured exchanges against physical attacks, but do not assume it solves magical harassment. Keep the lane near safety, use Gush for committed chases, and preserve mana.
Approach major fights from fog rather than walking directly at the enemy formation. Blink onto clustered targets, cast Ravage, then use Anchor Smash to reduce nearby attack damage. If enemies hold defensive saves, wait for them to show first. A delayed ultimate is stronger than an empty one.

Blink Dagger is Tidehunter's defining purchase because it converts patient positioning into immediate area control. Choose Pipe against concentrated magic, Crimson Guard against repeated attacks, or Lotus Orb against targeted disables. Guardian Greaves suit coordinated teams. Refresher Orb belongs only in long, decisive late fights. Keep enough mana for both ultimate casts and the Refresher activation before planning a double Ravage.
Use Anchor Smash when it strikes the opposing core and nearby creeps together. The reduced attack damage makes the return trade safer, while the wave damage improves your lane control. Avoid pushing blindly when your support cannot protect you.
Activate Kraken Shell before heavy physical attacks when the movement penalty will not spoil your position. Activation increases damage block; the strong dispel is triggered separately by damage taken. Do not treat pressing the button as an immediate cleanse of a disable.
Cast Ravage after Blink when several enemies cannot immediately spread away. The tentacles travel outward and hit invisible units, so do not panic if a target disappears. Follow the stun with Anchor Smash while allies use their own damage spells.
| Detail | What it means in your game |
|---|---|
| Gush | Damage an enemy and reduce its armor and movement speed. Scepter changes Gush into a ground-targeted wave. |
| Kraken Shell | Passively block physical attack damage and trigger a strong dispel after enough damage is taken. Activation increases block while reducing movement speed. |
| Anchor Smash | Attack nearby enemies with bonus damage and reduce their attack damage. Its area grows with Tidehunter’s attack range. |
Tidehunter is usually an offlaner because he needs levels, durable items, and Blink Dagger timing. He absorbs pressure, starts fights, and protects teammates by reducing enemy attack damage after he enters the fight.
Blink Dagger is the usual first major item because Tidehunter needs a reliable way to cast Ravage on grouped enemies. Buy defensive team items afterward based on whether enemy damage is magical, physical, or built around targeted disables.
Focus on lane creeps, avoid wasting Gush, and watch enemy positions before every fight. Tidehunter becomes much easier when you treat Ravage as an opening created from fog rather than a spell cast after enemies already see you.
Ravage damages and stuns nearby enemy units with outward-moving tentacles, including invisible enemies. It is strongest against grouped opponents, but enemies can spread, interrupt Tidehunter before he casts, or save allies afterward. Blink positioning and ally follow-up determine its value.
 Elder TitanStrength
 TuskStrength
 LionIntelligence
 MagnusUniversal
 Ancient ApparitionIntelligence
 Shadow ShamanIntelligence
6 random heroes · Opens the hero directory.