Why pick Juggernaut?
Pick Juggernaut when your team needs a carry who can farm independently, pressure lanes, and finish a controlled target after allies create an opening.
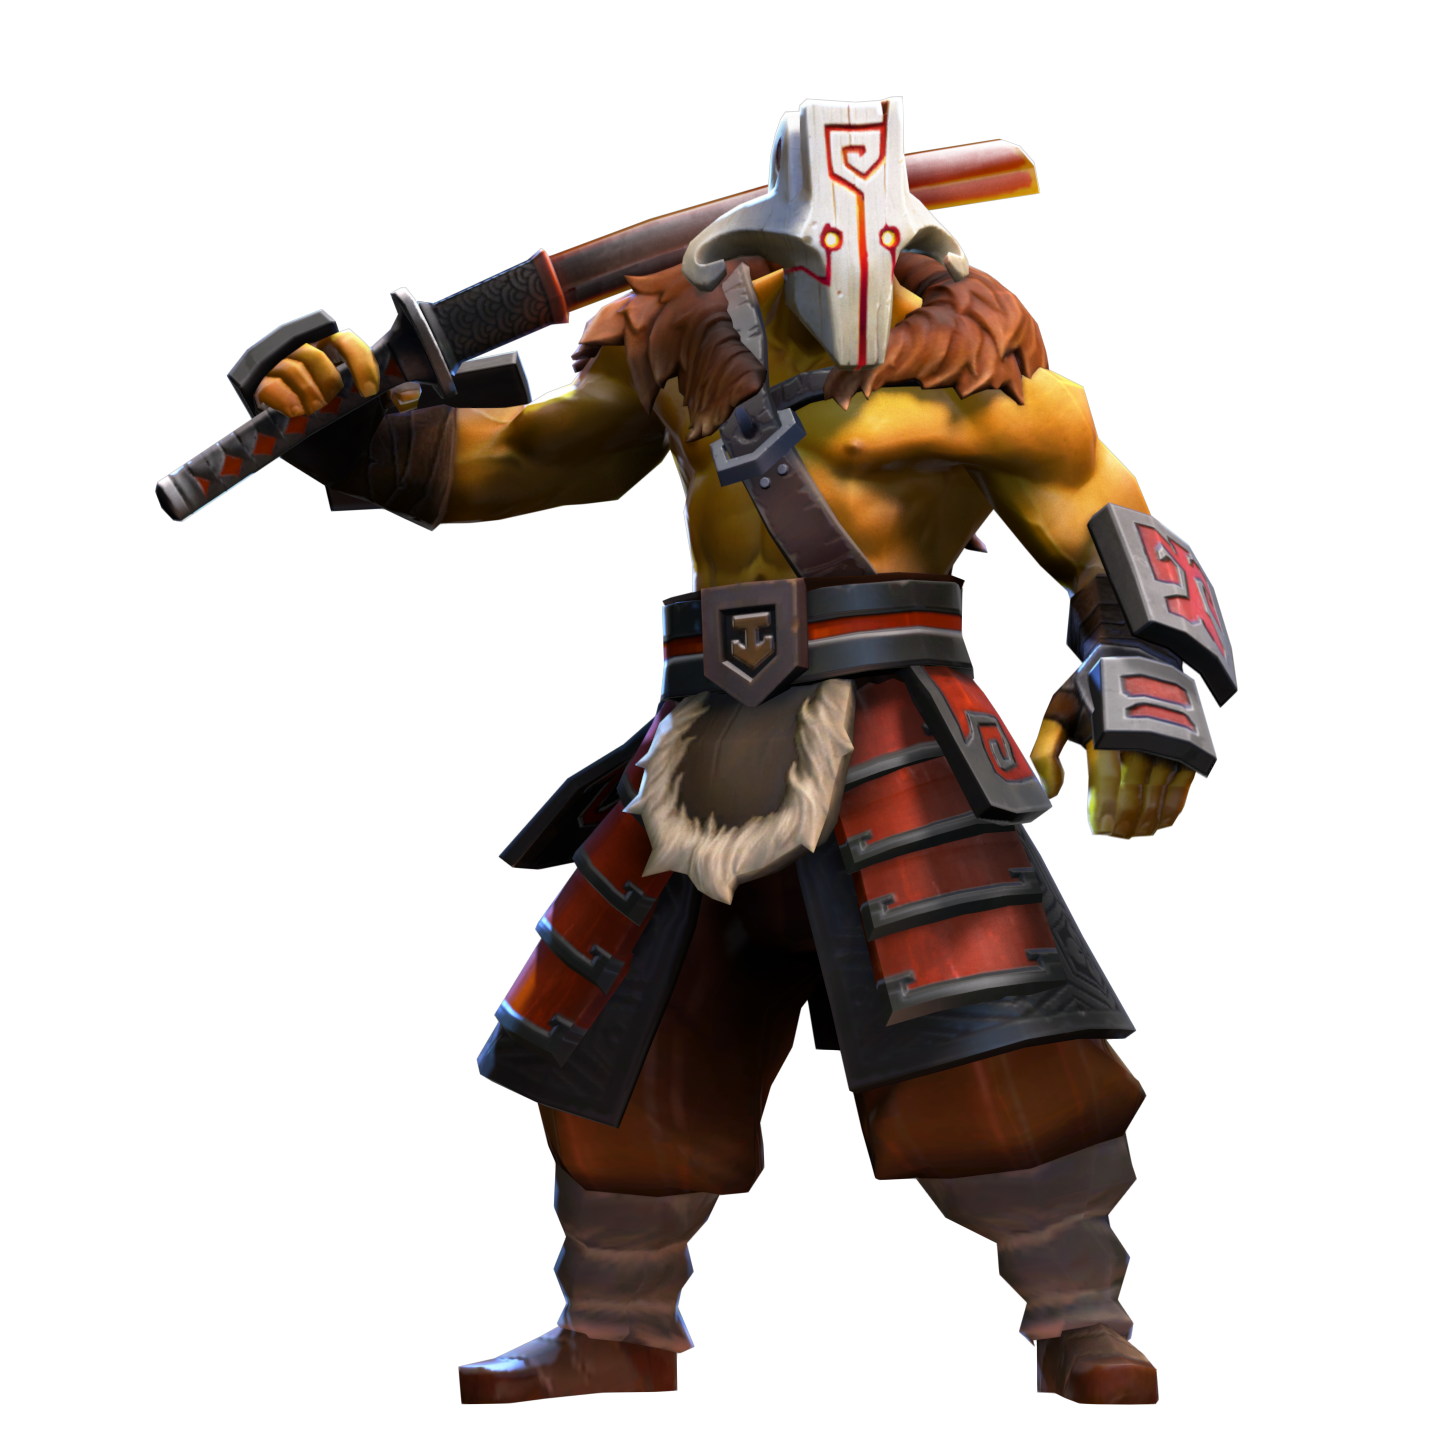
A masked swordsman whose clean execution rewards patient target selection, creep control, and disciplined timing around enemy disables.
Juggernaut is a carry with lane sustain, Blade Fury protection and an ultimate that punishes isolated targets.
 AgilityMelee
Pick Juggernaut when your team needs a carry who can farm independently, pressure lanes, and finish a controlled target after allies create an opening.
Think twice when enemies can force awkward targets or surround your intended victim with units that split Omnislash.
Do not spend Omnislash on the nearest enemy without checking nearby creeps, summons, and heroes; scattered slashes can leave the intended target alive.
A balanced carry route for a stable lane and ordinary mixed fights.
Secure last hits and keep recovery available.
Add movement and emergency resources.
Accelerate farming while keeping fight damage.
Convert farm into safer target access.
Threaten durable targets and survive disables.
Replace basic movement with a decisive initiation tool.
Battle FuryCreates a dependable farming engine and lets Juggernaut turn safer lanes into broad map pressure.Guide ↗
Use this when frequent waves and clustered fights make rapid farming and repeated attacks valuable.
Protect lane last hits and sustain.
Get mobile enough to avoid bad trades.
Start clearing waves without delaying fights.
Add split pressure and safer dispels.
Improve sustained damage against grouped enemies.
Gain a late repositioning option.
Battle FuryCreates a dependable farming engine and lets Juggernaut turn safer lanes into broad map pressure.Guide ↗
Choose this against lineups that rely on targeted effects, slows, and repeated attempts to hold you in place.
Keep lane damage reliable.
Build basic mobility and a burst of resources.
Create an early answer to targeted pressure.
Upgrade mobility while removing troublesome effects.
Add status protection and front line damage.
Finish with a durable answer to long fights.
Battle FuryCreates a dependable farming engine and lets Juggernaut turn safer lanes into broad map pressure.Guide ↗
Take this route when enemy spell damage and long skirmishes demand more resistance before committing to full damage.
Secure safe creeps and avoid wasteful trades.
Prepare for rotations with movement and charges.
Keep farming while gaining resistance to spell pressure.
Add dispel utility before larger engagements.
Stay active through enemy control and burst.
Convert survivability into closing power.
Battle FuryCreates a dependable farming engine and lets Juggernaut turn safer lanes into broad map pressure.Guide ↗
A situational route for games where another brief Omnislash window may matter more than a conventional damage purchase.
Start with dependable lane tools.
Gain movement and charge storage.
Clear waves while retaining fight presence.
Add the Scepter option for a short slash.
Increase repeated attack damage in team fights.
Reach targets before committing the longer ultimate.
Battle FuryCreates a dependable farming engine and lets Juggernaut turn safer lanes into broad map pressure.Guide ↗
These are our editorial build paths. Labels describe their purpose, not measured popularity or win rate. Click an item for its use. Each stage is an inventory snapshot: keep earlier items, use consumables, upgrade components, and replace small items as space runs out. Boots, defenses, and late slots can change with the draft.
More match and build examples: Dota 2 Pro Tracker. Item names and images: Valve.
Our picks, based on how the spells work together.
Corrosive Haze lowers armor and reveals a target, making it easier for Juggernaut to stay on a visible victim with physical attacks.
Frost Shield reduces attack damage against Juggernaut and slows nearby enemies, helping him remain in range after he commits.

Bloodlust gives Juggernaut movement and attack speed, strengthening ordinary attacks between his major cooldowns.
Earth Spike and Hex can hold a target still, creating a cleaner Omnislash target with fewer chances to escape.
Fissure can isolate enemies or block reinforcements, helping Juggernaut use Blade Fury and Omnislash on a smaller area.
Berserker's Call can force Juggernaut to attack Axe, ruining target choice and exposing him to Counter Helix.
Viper Strike disables passives, preventing new Bladeform stacks while its severe slows make safe repositioning difficult.

Gust can silence and push Juggernaut away before he commits, while Frost Arrows make chasing a distant Drow harder.
Meat Hook can pull Juggernaut into a poor position, and Dismember can stop him from continuing a planned attack.

Frostbite prevents movement and attacks, creating a dangerous setup for allies before Juggernaut can choose his own engagement.
These are useful ability interactions, not a statistical ranking or guaranteed matchups. Positioning, items, and cooldowns change the result. Hero links open a full guide when available, otherwise the directory.
Ability references from Valve: Slardar · Lich · Ogre Magi · Lion · Earthshaker · Axe · Viper · Drow Ranger · Pudge · Crystal Maiden. Checked 2026-09-21.
 Blade FuryNo targetDeals damage around Juggernaut while granting debuff immunity and increased magic resistance. It does not prevent all incoming damage.
 Healing WardPoint targetCreates a movable ward that heals nearby allies for a percentage of their maximum health. Keep it out of enemy attack range.
 Blade DancePassiveGives Juggernaut a chance to deal critical damage with Blade Fury and on each attack.
 OmnislashUltimateJuggernaut leaps towards the target enemy units, and then slashes the target and other nearby enemy units at an increased attack rate.
 SwiftslashUnit targetRequires Aghanim’s Scepter. Performs a shorter Omnislash with its own cooldown.
 Strength20+2 / lvlAgility32+2.8 / lvl
 Intelligence14+1.4 / lvl
Juggernaut gains a stack of Bladeform every 2s that Juggernaut does not take damage.
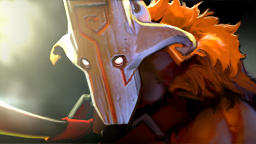 JuggernautLegendary
Current prices and availability on Skinport.
Affiliate links: we may earn a commission if you buy through our links.
Juggernaut is a carry with lane sustain, Blade Fury protection and an ultimate that punishes isolated targets.
Juggernaut is a melee Agility hero. Our recommended role is carry.
Juggernaut works best as a carry who farms safely, then converts an enemy mistake into a short, decisive commitment. Choose him when your team can create isolated targets. His damage comes from attacks and critical hits, so protect his positioning rather than treating Blade Fury as a permanent fighting plan.
In lane, secure difficult last hits with Quelling Blade and save Blade Fury for danger, pressure, or a secure kill attempt. If opponents threaten a disable, keep enough space to spin away. Control the Healing Ward yourself and move it behind cover; losing it early removes your recovery advantage.
Before a fight, identify whether creeps, summons, or nearby heroes can absorb Omnislash slashes. Wait for allies to force movement or disable a priority target, then commit. Blade Fury can carry you through dangerous magical effects, but it does not make reckless pathing safe against physical attacks or control afterward.

Buy farming damage when you have room to hit waves, but change course when enemy control decides every fight. Black King Bar is for committing after your spin ends, not replacing judgment. Manta Style or Disperser can answer removable effects. Aghanim's Scepter is an optional route for Swiftslash.
Use Blade Fury when an enemy tries to trap you with magical pressure, then walk toward a safe route rather than deeper into their formation. You may use items while spinning, so activate a needed tool without ending your escape plan. Remember that normal attacks mainly matter against unaffected wards or structures.
Place Healing Ward where allies can circle around it but enemies must spend time reaching it. Move the ward after casting instead of leaving it beside the first target. Because its healing scales from allied maximum health, protect it during prolonged fights rather than saving it only for a retreat.
Cast Omnislash after nearby creeps and unwanted heroes have moved away, or after allies disable the target you want to punish. Juggernaut is invulnerable during the slashes, but the effect can spread among nearby enemies. Use items during Omnislash only when they improve the planned follow-up position.
| Detail | What it means in your game |
|---|---|
| Blade Fury | Deals damage around Juggernaut while granting debuff immunity and increased magic resistance. It does not prevent all incoming damage. |
| Healing Ward | Creates a movable ward that heals nearby allies for a percentage of their maximum health. Keep it out of enemy attack range. |
| Blade Dance | Gives Juggernaut a chance to deal critical damage with Blade Fury and on each attack. |
Juggernaut is primarily a carry. He uses efficient lane recovery and wave clearing to build damage items, then looks for isolated enemies rather than beginning every fight. He can survive some magical pressure with Blade Fury, but teammates still need to provide vision, control, or a safe opening.
Battle Fury is a practical default when Juggernaut can farm open lanes and camps safely. Choose Maelstrom when repeated attacks and nearby enemies matter more. Buy Black King Bar when disables stop your follow-up. Manta Style, Disperser, and defensive damage items should respond to the actual enemy threats.
Begin by practicing safe last hits, then use Blade Fury only with a destination in mind. Keep Healing Ward behind your team and move it whenever enemies can attack it. Before using Omnislash, look at nearby units. A delayed ultimate on one target is usually better than an immediate scattered one.
Omnislash leaps to an enemy and rapidly slashes that target and other nearby enemies while Juggernaut is invulnerable. It is strongest against an isolated vulnerable target. Nearby creeps, summons, or heroes can divide the slashes, so wait for a clean area. Juggernaut can use items during the effect.
Crystal MaidenIntelligence ClinkzAgility
 Phantom LancerAgility
 Sand KingUniversal
 MiranaAgility
 VenomancerUniversal
6 random heroes · Opens the hero directory.